Arugula Salad

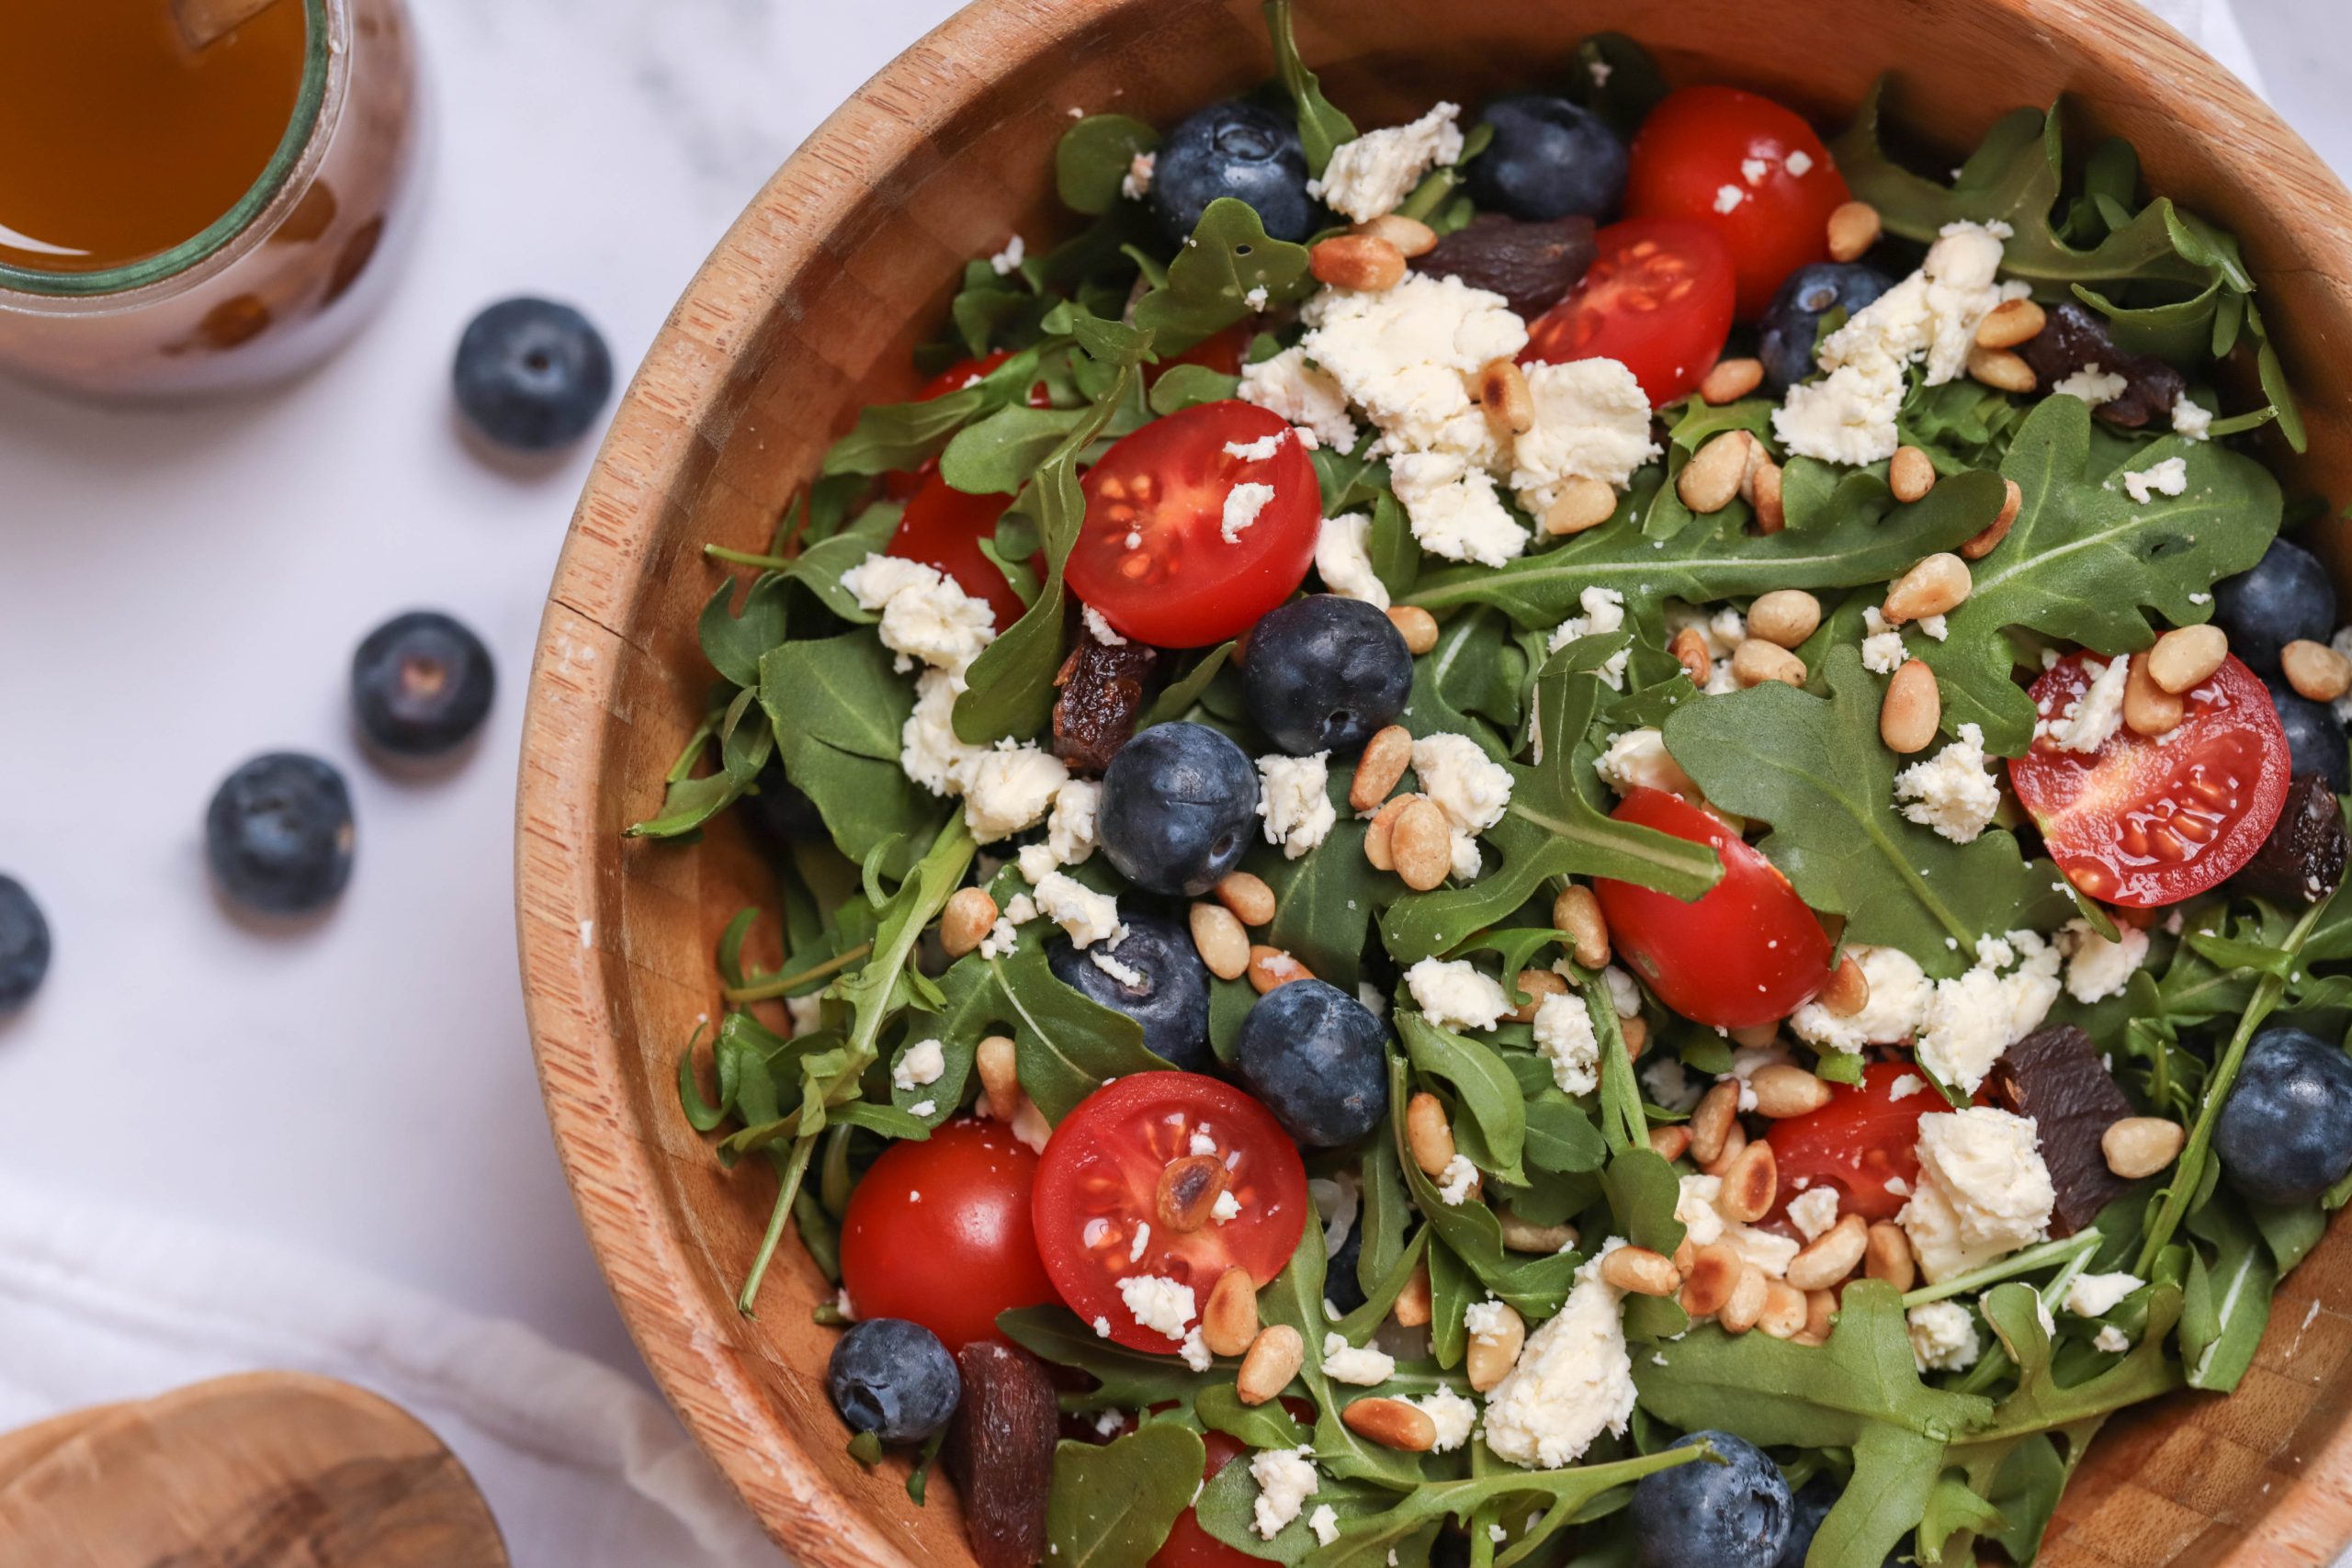
Arugula Salad: Embrace the simplicity of fresh greens with our Arugula Salad. This uncomplicated yet delightful recipe highlights the peppery and vibrant flavors of arugula, creating a refreshing side dish or a light meal.

Join us as we share the quick and easy steps to prepare this crisp and nutritious salad that’s perfect for any occasion. Let’s dive into crafting this flavorful and wholesome dish!

This salad is Gluten Free, Meal Prep Friendly, Vegan, Quick to make, but with Nuts.

Nutrition per serving:

  • Kcal: 264
  • Carbs: 23 grams
  • Protein: 4 grams
  • Fat: 18 grams
  • Fibre: 3 grams
Ingredients – servings
  • 4 servings Balsamic Vinaigrette Dressing (recipe in this pack)
  • ¼ cup (35g) pine nuts
  • 2.5 oz. (70g) arugula
  • ½ medium red onion, diced
  • ½ cup (75g) blueberries
  • 2 cups (300g) cherry tomatoes
  • ⅓ cup (40g) cranberries, dried
  • ⅓ cup (50g) feta cheese, crumbled
What you need to do:
  1. Begin by preparing the balsamic vinaigrette (see the recipe in this pack) and then set aside.
  2. Next, in a small pot, toast the pine nuts over a medium heat for 4-5 minutes or until golden brown. Keep moving the pine nuts so that they don’t burn. When ready, remove from the pan and set aside.
  3. Add the arugula, red onion, blueberries, tomatoes, cranberries, feta cheese and pine nuts into a large bowl and combine.
  4. Drizzle 4 servings of the balsamic dressing onto the salad and serve immediately.

Simplify your path to fitness and health!

Get 15 High-Protein recipes every month, an entire week’s meal planner, and access to our Recipe Vault with 350+ recipes, including videos. Plus, enjoy 5-10 new video recipes added monthly!

All for just €9.90 per month.

Join our Recipe Vault Membership today!

Grilled Flank Steak With Mango Chimichurri

Grilled Flank Steak With Mango Chimichurri: Prepare your taste buds for a symphony of flavors! Our Grilled Flank Steak, accompanied by a vibrant Mango Chimichurri sauce, is a culinary masterpiece that combines savory and tropical elements.

Join us as we take you through the steps to create this mouthwatering dish that’s perfect for a summertime barbecue or a special dinner. Let’s embark on this flavorful journey of grilling perfection and exotic chimichurri!

This dish is Gluten Free, Dairy Free, Meal Prep Friendly, Freezer Friendly, and High Protein!

Nutrition per serving:
  • Kcal: 444
  • Carbs: 24 grams
  • Protein: 38 grams
  • Fat: 23 grams
  • Fibre: 4 grams

Prep time: 20 min

Cook time: 20 min

Marinate: 3 hrs or overnight

Ingredients – 4 servings:

For the Steak:

  • 1.5 lbs. (680g) flank steak 
  • ½ tsp. salt
  • ½ tsp. pepper
  • 1 onion, sliced 
  • 1 tbsp. cumin 
  • 1 tbsp. chili powder 
  • 2 limes, juiced 
  • 1 tbsp. honey 
  • 1 tbsp. red wine vinegar 
  • 2 tbsp. olive oil 
  • 2 cloves garlic, minced 
  • 4 tbsp. cilantro, chopped 
  • ½ tsp. red chili flakes 

For the mango chimichurri: 

  • 2 tsp. red wine vinegar 
  • 4 tbsp. olive oil 
  • ¼ tsp. red chili flakes 
  • 1 clove garlic, minced 
  • ½ tsp. dried oregano 
  • 4 tbsp. cilantro chopped 
  • 1 mango, peeled, and cubed 
  • ½ tsp. salt
  • ¼ tsp. pepper
What you need to do:
  1. Season the steak with salt and pepper. Then mix all the remaining ingredients for the steak into a large bowl and stir to combine. Add the flank steak, toss until well coated, cover and place in the fridge to marinate for 3 hours or overnight.
  2. When ready to cook, remove the steak from the fridge and set it aside for 15 minutes to come to room temperature. 
  3. Place a skillet over a high heat, place the steak in the hot skillet and sear for 2-3 minutes until browned. Flip the steak over and cook on the second side for 2-3 minutes then remove the steak from the hot skillet and place on a board to allow the steak to rest for 5-10 minutes before serving. 
  4. To make the mango chimichurri, mix the vinegar, olive oil, red chili flakes, oregano, cilantro and garlic together in a bowl. Season with salt and pepper, add the mango and stir to combine. 
  5. Slice the steak, cutting across the grain of the meat. Serve immediately with the mango chimichurri.

Simplify your path to fitness and health!

Get 15 High-Protein recipes every month, an entire week’s meal planner, and access to our Recipe Vault with 350+ recipes, including videos. Plus, enjoy 5-10 new video recipes added monthly!

All for just €9.90 per month.

Join our Recipe Vault Membership today!

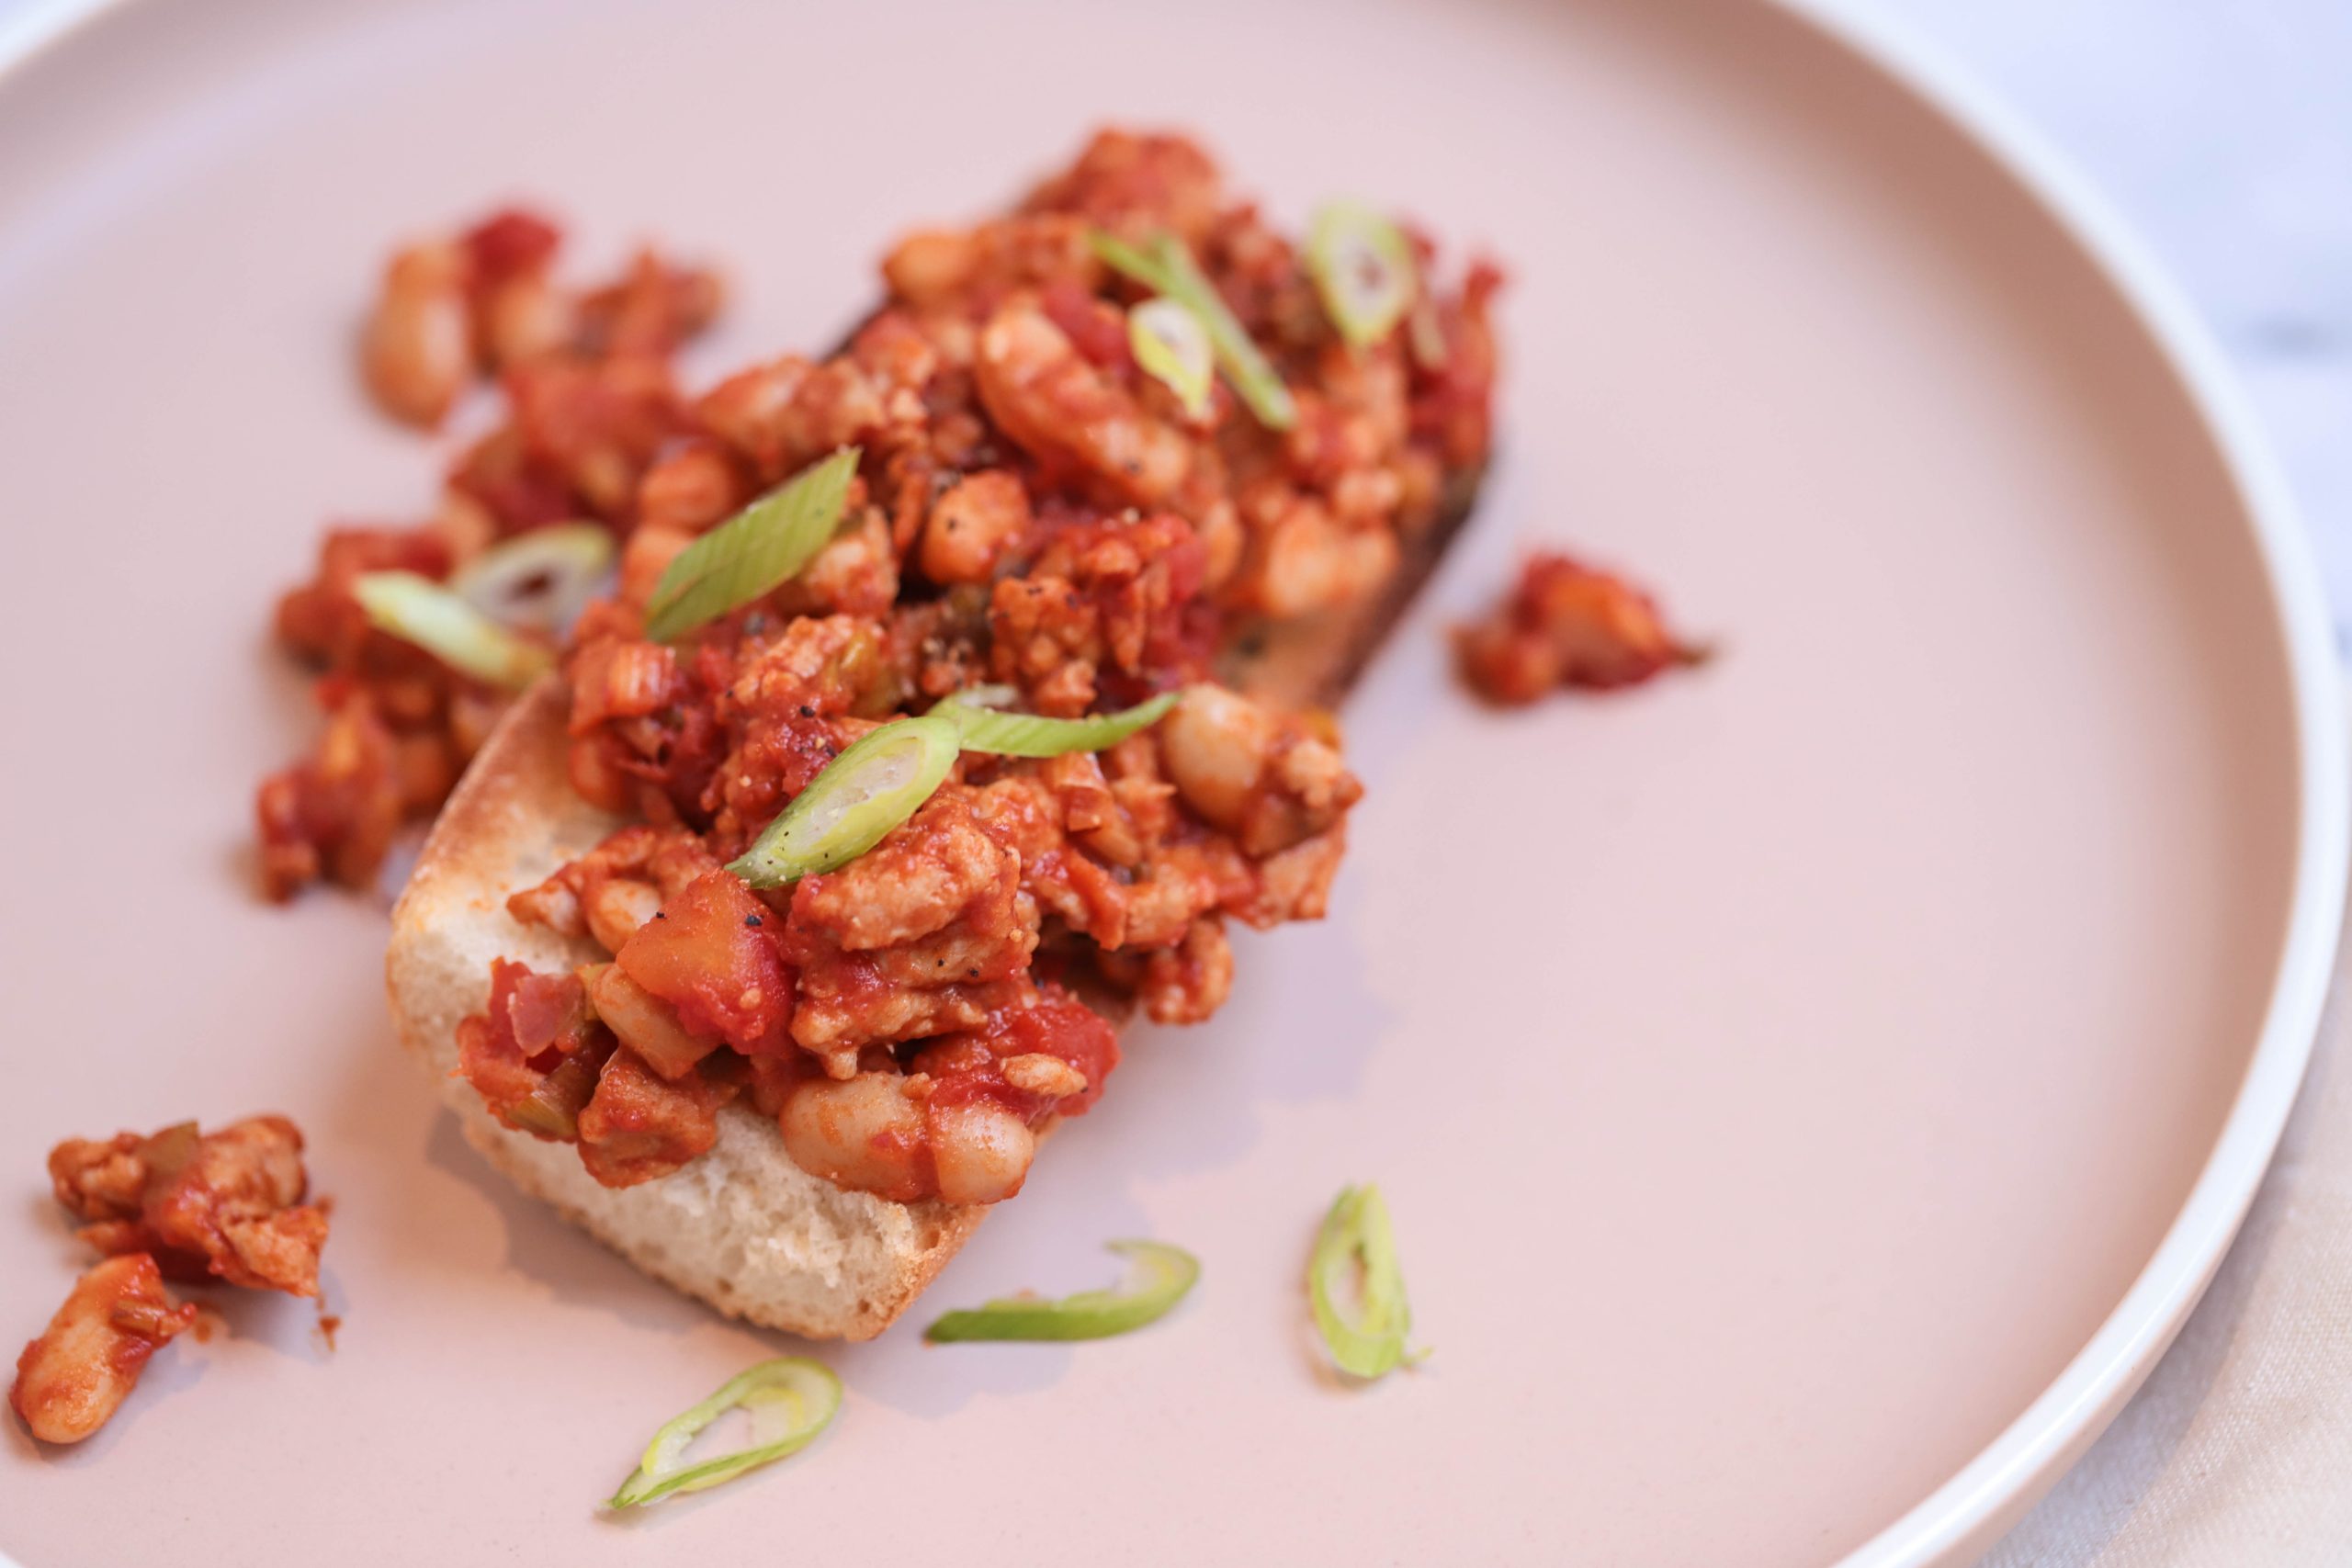
Turkey & Beans On Toast

Turkey & Beans On Toast: Elevate your morning with a hearty and nutritious breakfast! Our Turkey & Beans On Toast recipe combines lean turkey, flavorful beans, and the comforting crunch of toasted bread.

Join us as we guide you through creating this satisfying dish that’s perfect for fueling your day with protein and flavor.

Whether it’s a leisurely weekend breakfast or a quick weekday bite, this recipe is sure to become a breakfast favorite. Let’s dive into crafting this wholesome and delicious meal.

This one is Dairy Free, Low Carb, Meal Prep Friendly, Freezer Friendly, High Protein, and Quick to make!

Nutrition per serving:
  • Kcal: 397
  • Carbs: 37 grams
  • Protein 30 grams
  • Fat: 14 grams
  • Fibre: 9 grams

Prep time: 5 min

Cook time: 15 min

Ingredients – servings:
  • ½ tbsp. coconut oil
  • 2 green onions, sliced
  • 7 oz. (200g) ground turkey, lean
  • 2 tsp. smoked paprika
  • 1 tbsp. balsamic vinegar
  • ⅔ cup (180g) canned chopped tomatoes
  • ⅔ cup (130g) canned butter beans, drained
  • 2 slices bread, toasted
What you need to do:
  1. Heat the coconut oil in a large pot over a high heat. Add the green onions and fry for 30 seconds, then add the ground turkey. Cook for about 2-3 minutes until the turkey is almost cooked. Use a wooden spoon to break up the turkey into smaller pieces as it is cooking.
  2. Add in the paprika and vinegar and continue cooking for a further minute. Then add the tomatoes and beans to the pot. Bring to a simmer and continue to cook for 10 minutes, or until the turkey is cooked through.
  3. Serve the turkey and beans on toasted bread.

Simplify your path to fitness and health!

Get 15 High-Protein recipes every month, an entire week’s meal planner, and access to our Recipe Vault with 350+ recipes, including videos. Plus, enjoy 5-10 new video recipes added monthly!

All for just €9.90 per month.

Join our Recipe Vault Membership today!

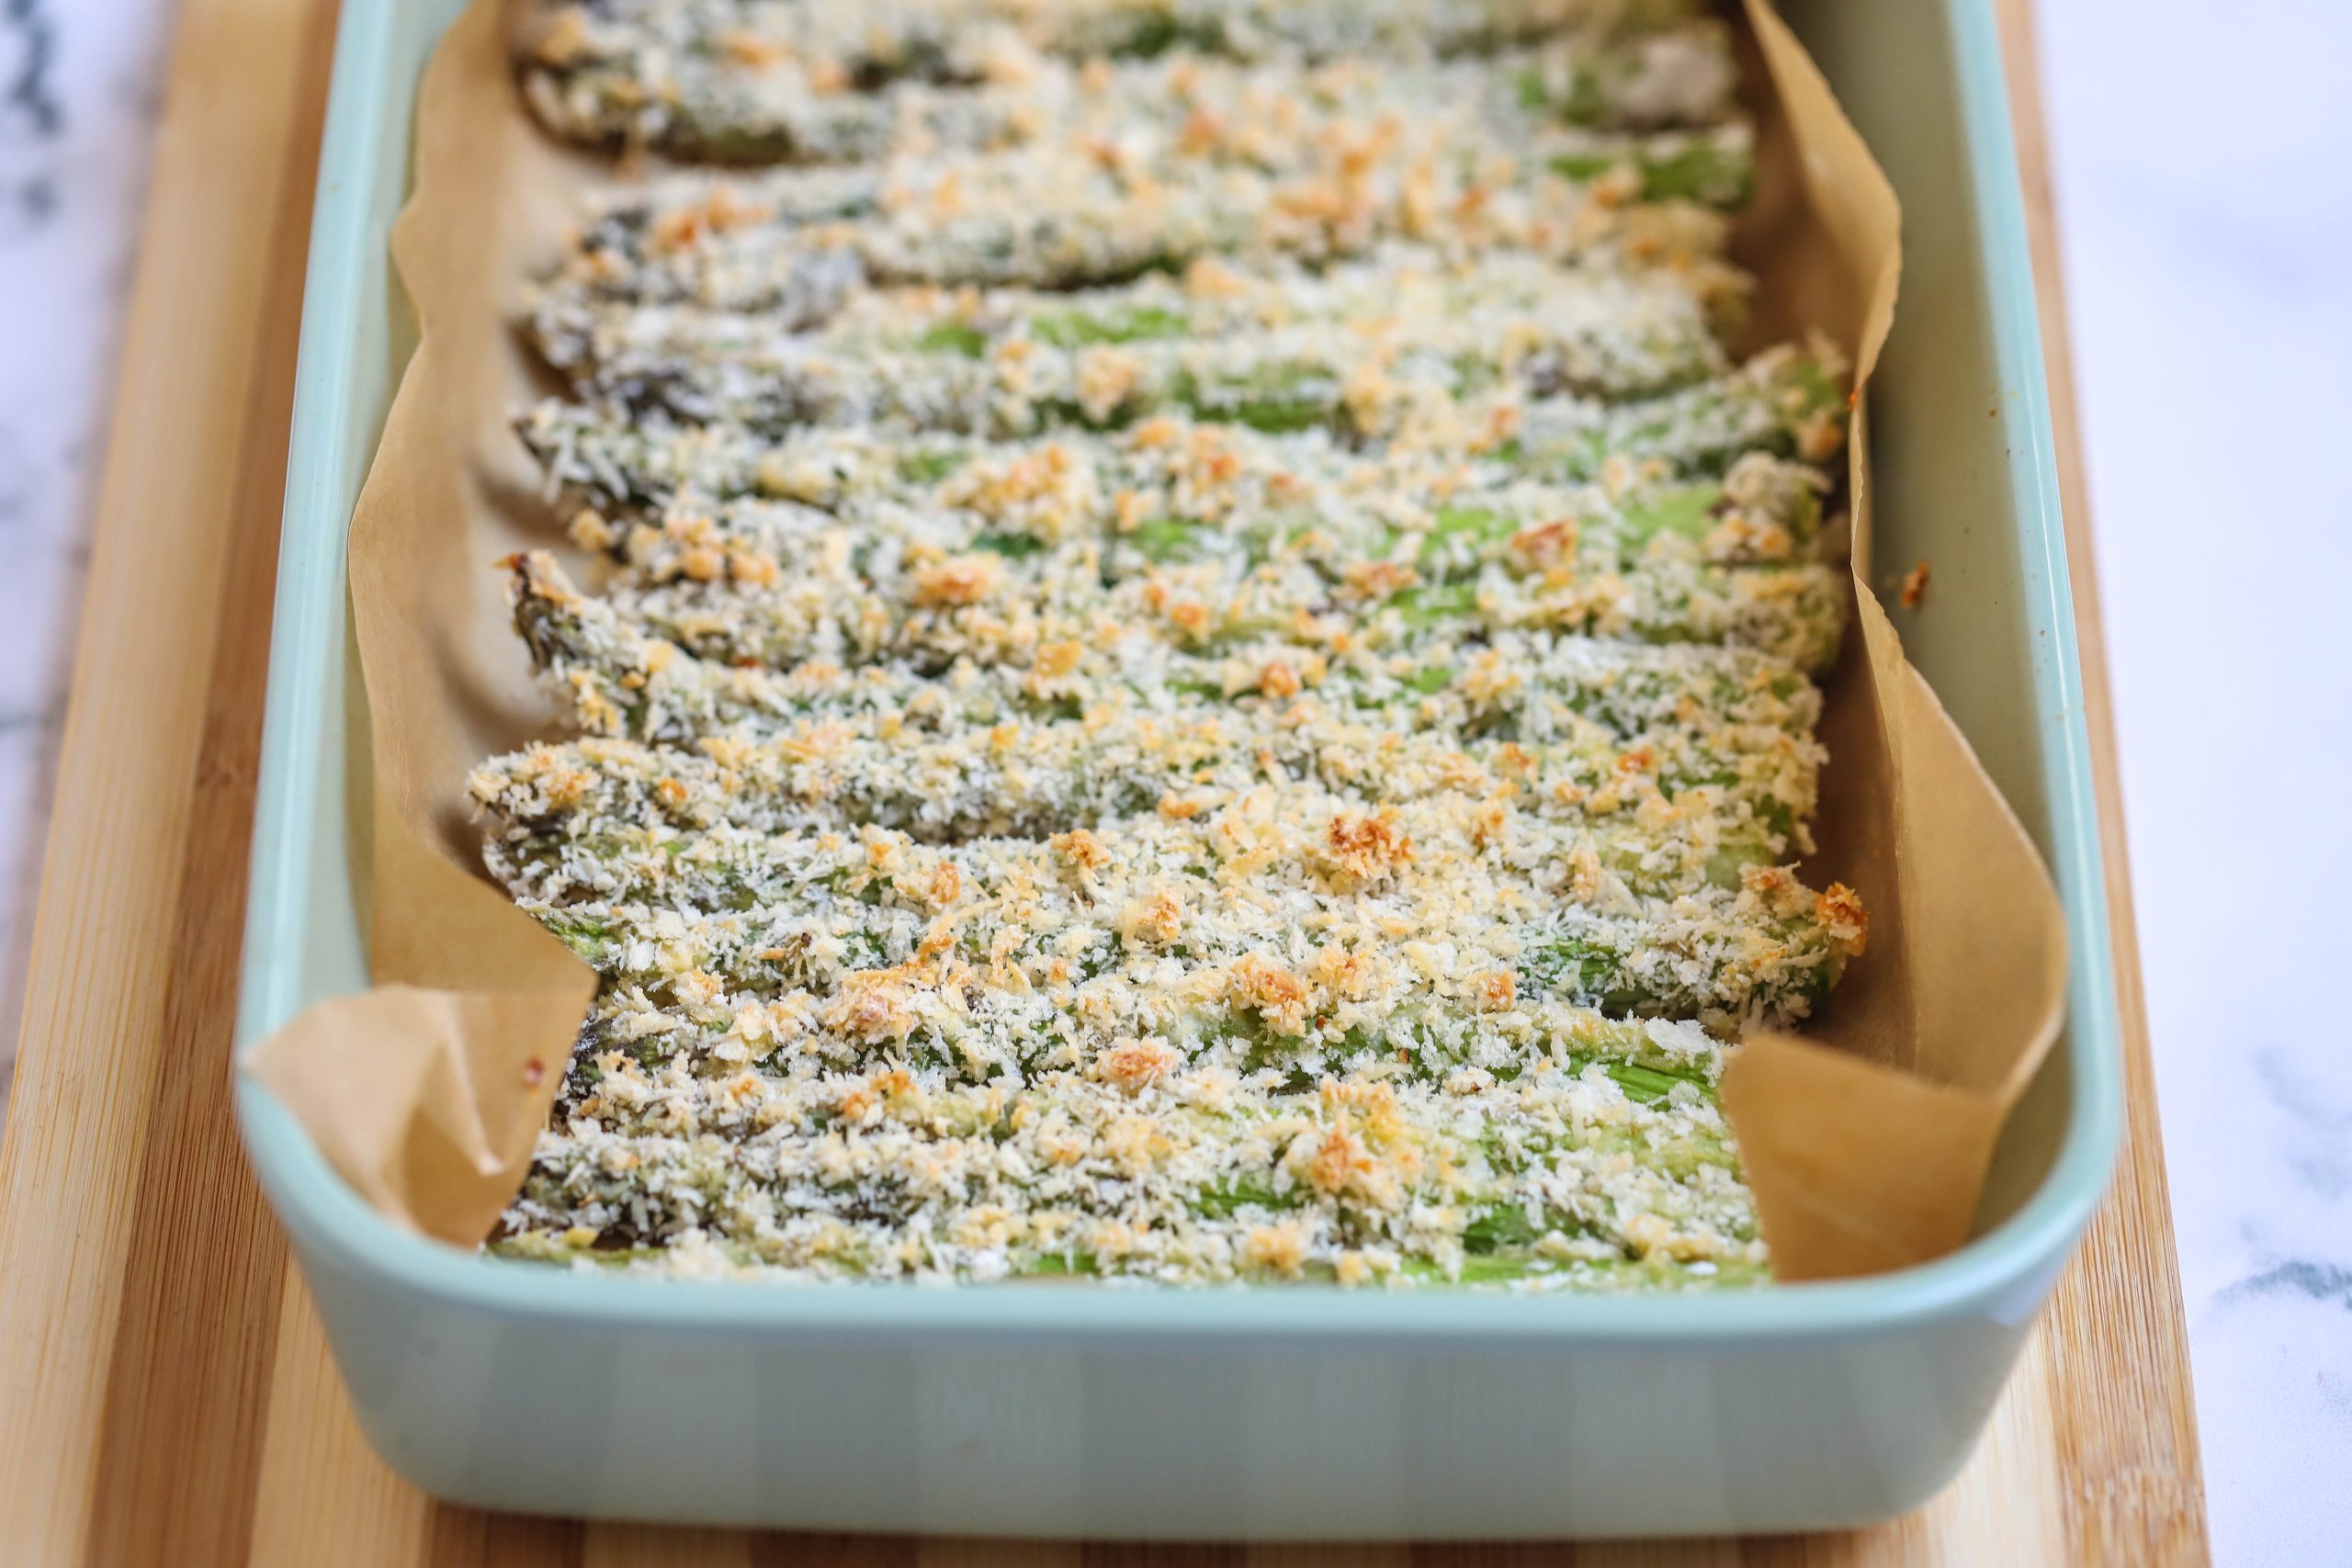
Asparagus Baked Fries

Asparagus Baked Fries: Elevate your snack game with a healthy twist! Our Asparagus Baked Fries recipe transforms fresh asparagus spears into crispy and flavorful fries that are perfect for guilt-free nibbling.

Join us as we share the secrets to achieving that satisfying crunch without the deep frying. Whether you’re looking for a wholesome appetizer, a crunchy side dish, or a unique way to enjoy asparagus, these baked fries are a delightful choice.

Let’s dive into creating this nutritious and savory snack!

Nutrition per serving:
  • Kcal: 162
  • Carbs: 20 grams
  • Protein: 9 grams
  • Fat: 5 grams
  • Fibre: 2 grams

Prep time: 15 min

Cook time: 15 min

Ingredients – servings:
  • 1 cup (110g) panko breadcrumbs
  • ½ cup (50g) Parmesan cheese, grated 
  • ¼ cup (30g) all-purpose flour 
  • 2 large eggs, beaten 
  • 1 lb. (450g) asparagus, trimmed
  • ½ tsp. salt
  • ¼ tsp. pepper
What you need to do:
  1. Preheat the oven to 425°F (220°C). Line a baking sheet with parchment paper. 
  2. In a large bowl, combine the panko and parmesan cheese. Season to taste with salt and pepper then set aside. 
  3. Place the flour and eggs into separate bowls. Working in batches, cover the asparagus spears first in flour, then dip into the beaten egg, and finally coating in the panko mixture. 
  4. Place the asparagus spears in a single layer onto the prepared baking sheet. Place into the oven and bake for 10-12 minutes, or until golden brown. Serve immediately.

Simplify your path to fitness and health!

Get 15 High-Protein recipes every month, an entire week’s meal planner, and access to our Recipe Vault with 350+ recipes, including videos. Plus, enjoy 5-10 new video recipes added monthly!

All for just €9.90 per month.

Join our Recipe Vault Membership today!

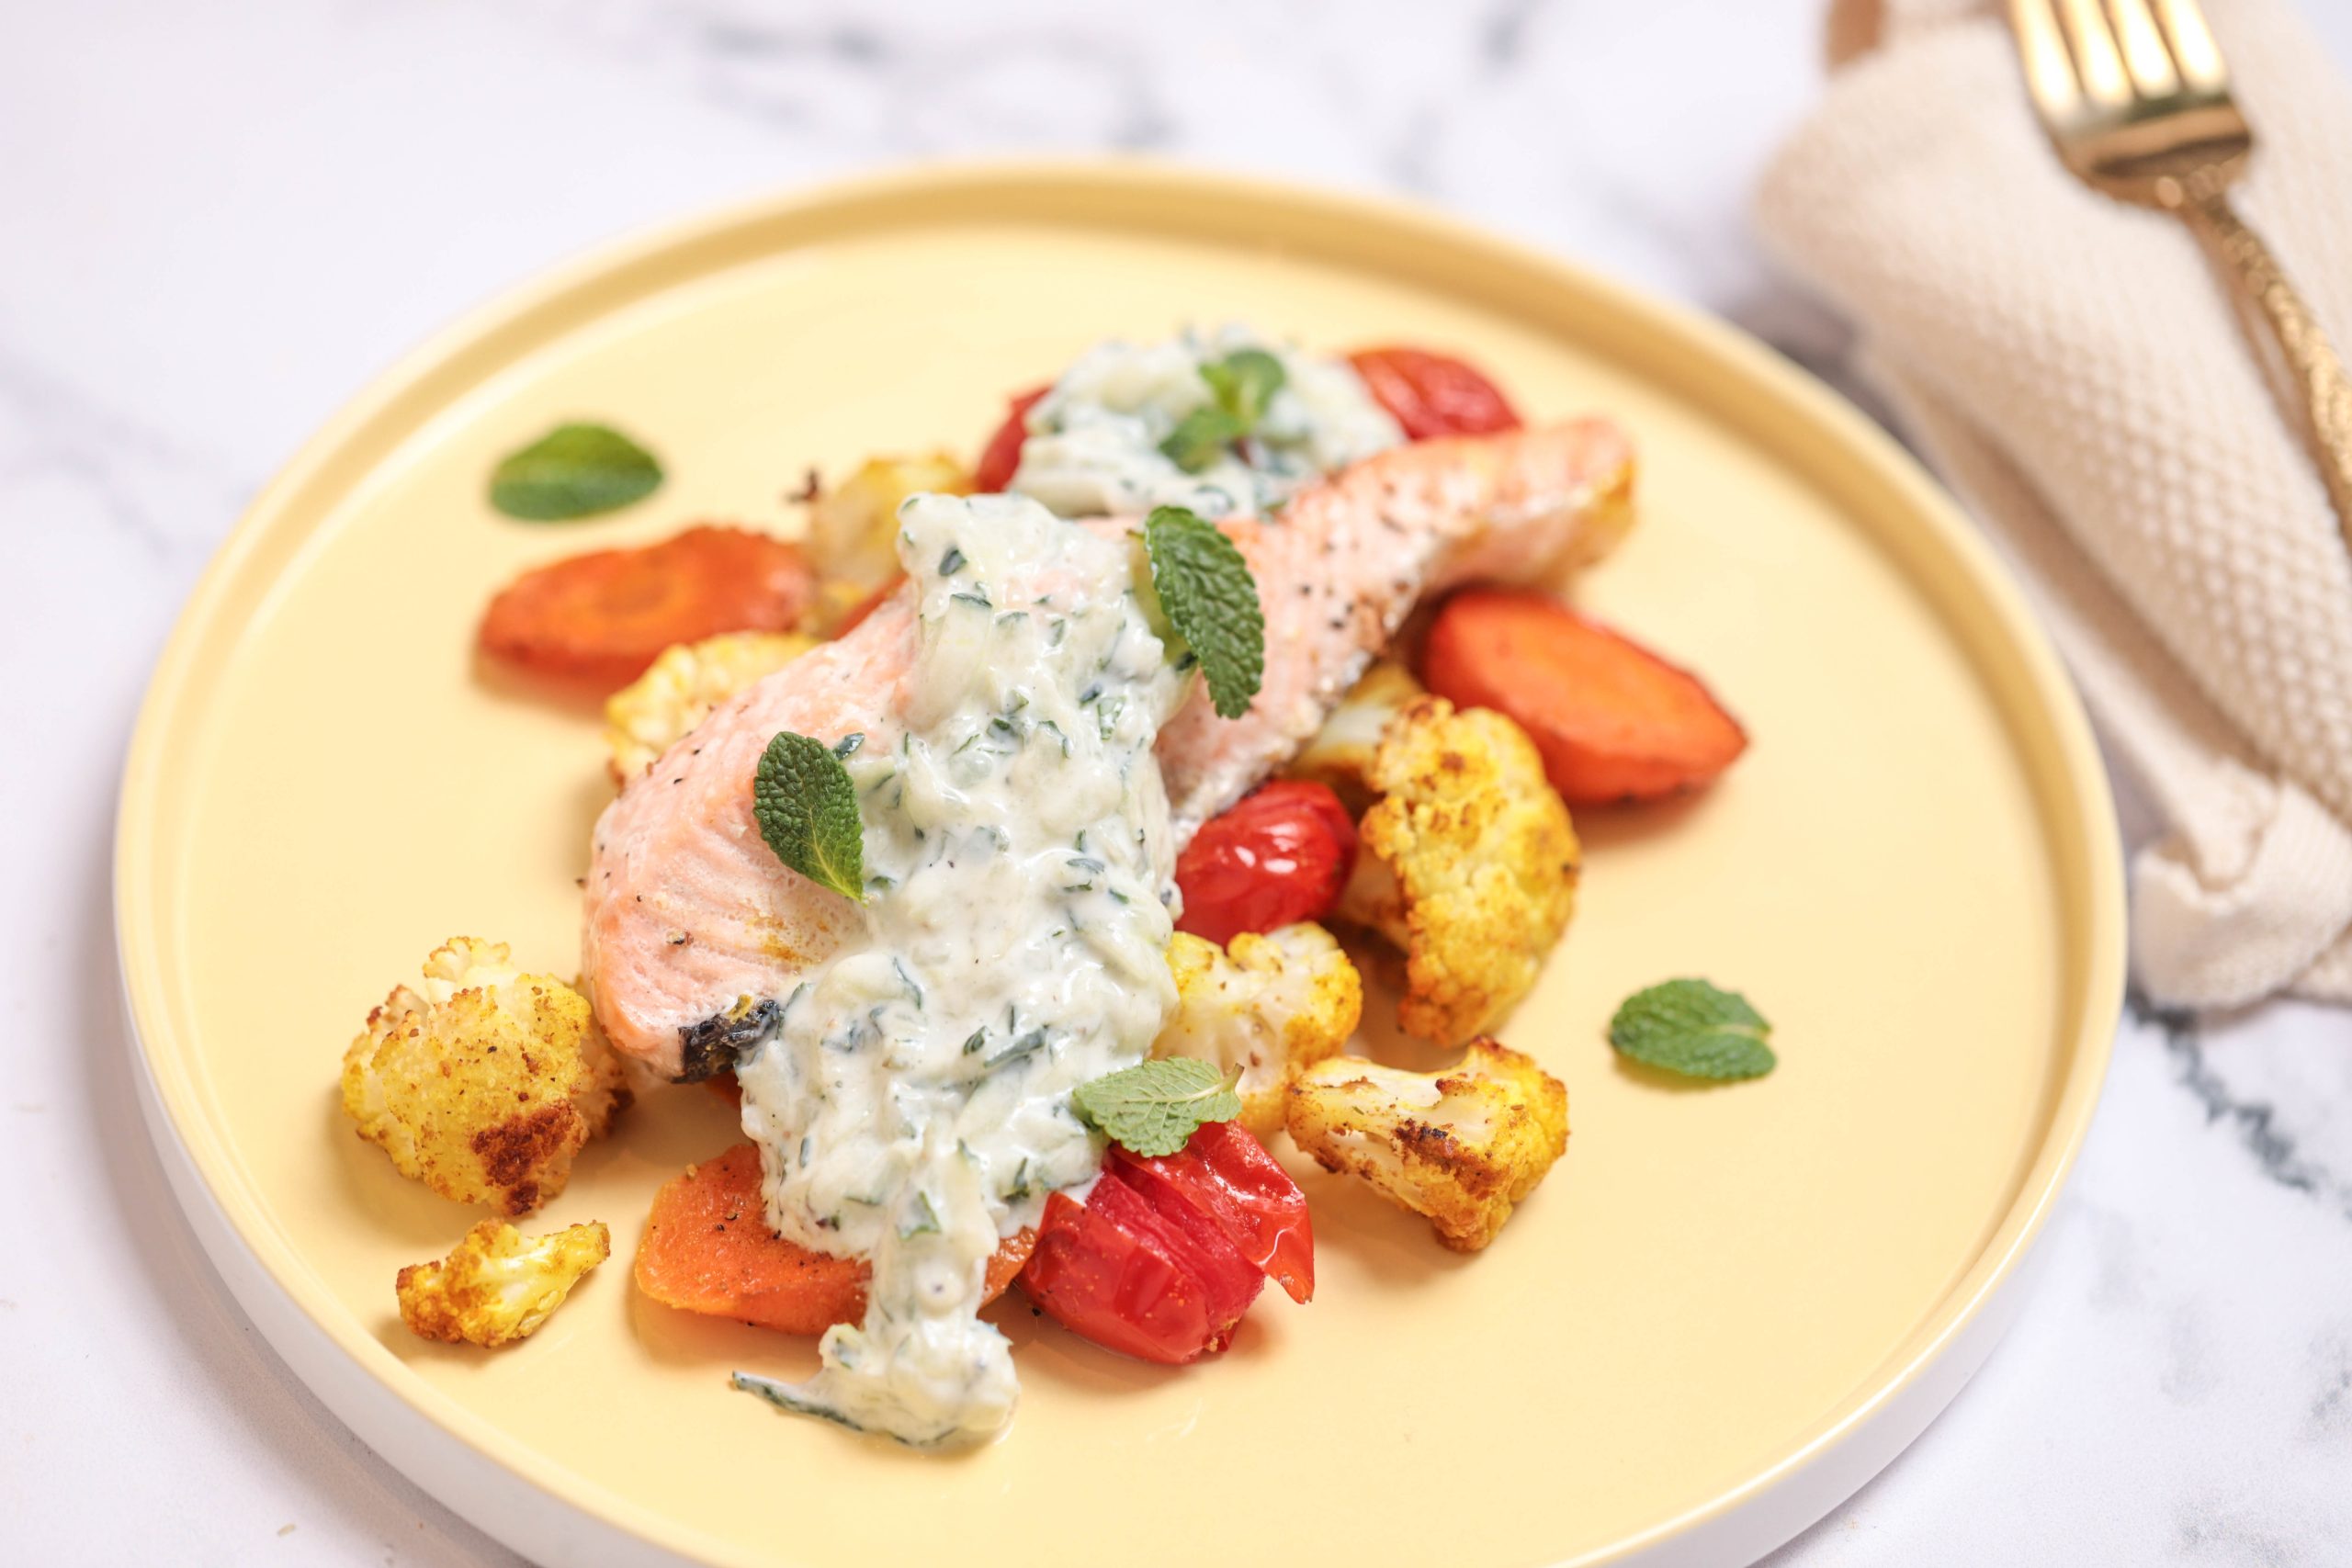
Roasted Cauliflower & Salmon

Roasted Cauliflower & Salmon: Experience a mouthwatering union of flavors with our Roasted Cauliflower & Salmon dish.

This recipe pairs perfectly seasoned salmon fillets with tender, roasted cauliflower florets, creating a delightful balance of textures and tastes.

Join us as we take you through the steps to prepare this nutritious and delectable meal that’s ideal for a quick weeknight dinner or a special culinary treat. Let’s dive into the process of crafting this savory masterpiece!

This dish is Gluten Free, Low Carb, Meal Prep Friendly, Freezer Friendly and High Protein.

Nutrition per serving:
  • Kcal: 475
  • Carbs: 16 grams
  • Protein: 52 grams
  • Fat: 22 grams
  • Fibre: 7 grams
Ingredients – 2 servings:
  • 1 tbsp. coconut oil
  • 12 oz. (350g) cauliflower, florets
  • 1 carrot, sliced
  • 1 tsp. garam masala
  • ½ tsp. ground turmeric
  • ½ tsp. ground cumin
  • 1 cup (150g) cherry tomatoes
  • 2 salmon fillets, skinless (approx. 8 oz./230g each)
  • ½ cucumber
  • 3 tbsp. Greek yogurt
  • 2 tsp. mint, chopped
  • salt & pepper
What you need to do:
  1. Preheat the oven to 390°F (200°C).
  2. Place the coconut oil into a roasting tray and place into the hot oven. Once the oil has melted, remove the tray and add the cauliflower florets and carrots. Place the tray back in the oven for 10 minutes.
  3. In the meantime, mix together the spices in a small bowl and add a pinch of salt and pepper.
  4. After 10 minutes, remove the tray from the oven and add in the cherry tomatoes. Season with the spice mix and toss together, ensuring everything is well coated in the spice mix.
  5. Layer the salmon on top of the vegetables and season with salt and pepper. Then return the tray to the oven and roast for a further 12 minutes, until the vegetables are tender and the salmon is cooked through.
  6. While the salmon is in the oven, grate the cucumber and with your hands, gently squeeze out as much excess water as possible. Then place the cucumber into a bowl with the yogurt and chopped mint. Season to taste with salt and pepper and mix until well combined.
  7. Serve the roasted vegetables and salmon topped with a spoon of the cucumber and yogurt dressing.

Simplify your path to fitness and health!

Get 15 High-Protein recipes every month, an entire week’s meal planner, and access to our Recipe Vault with 350+ recipes, including videos. Plus, enjoy 5-10 new video recipes added monthly!

All for just €9.90 per month.

Join our Recipe Vault Membership today!

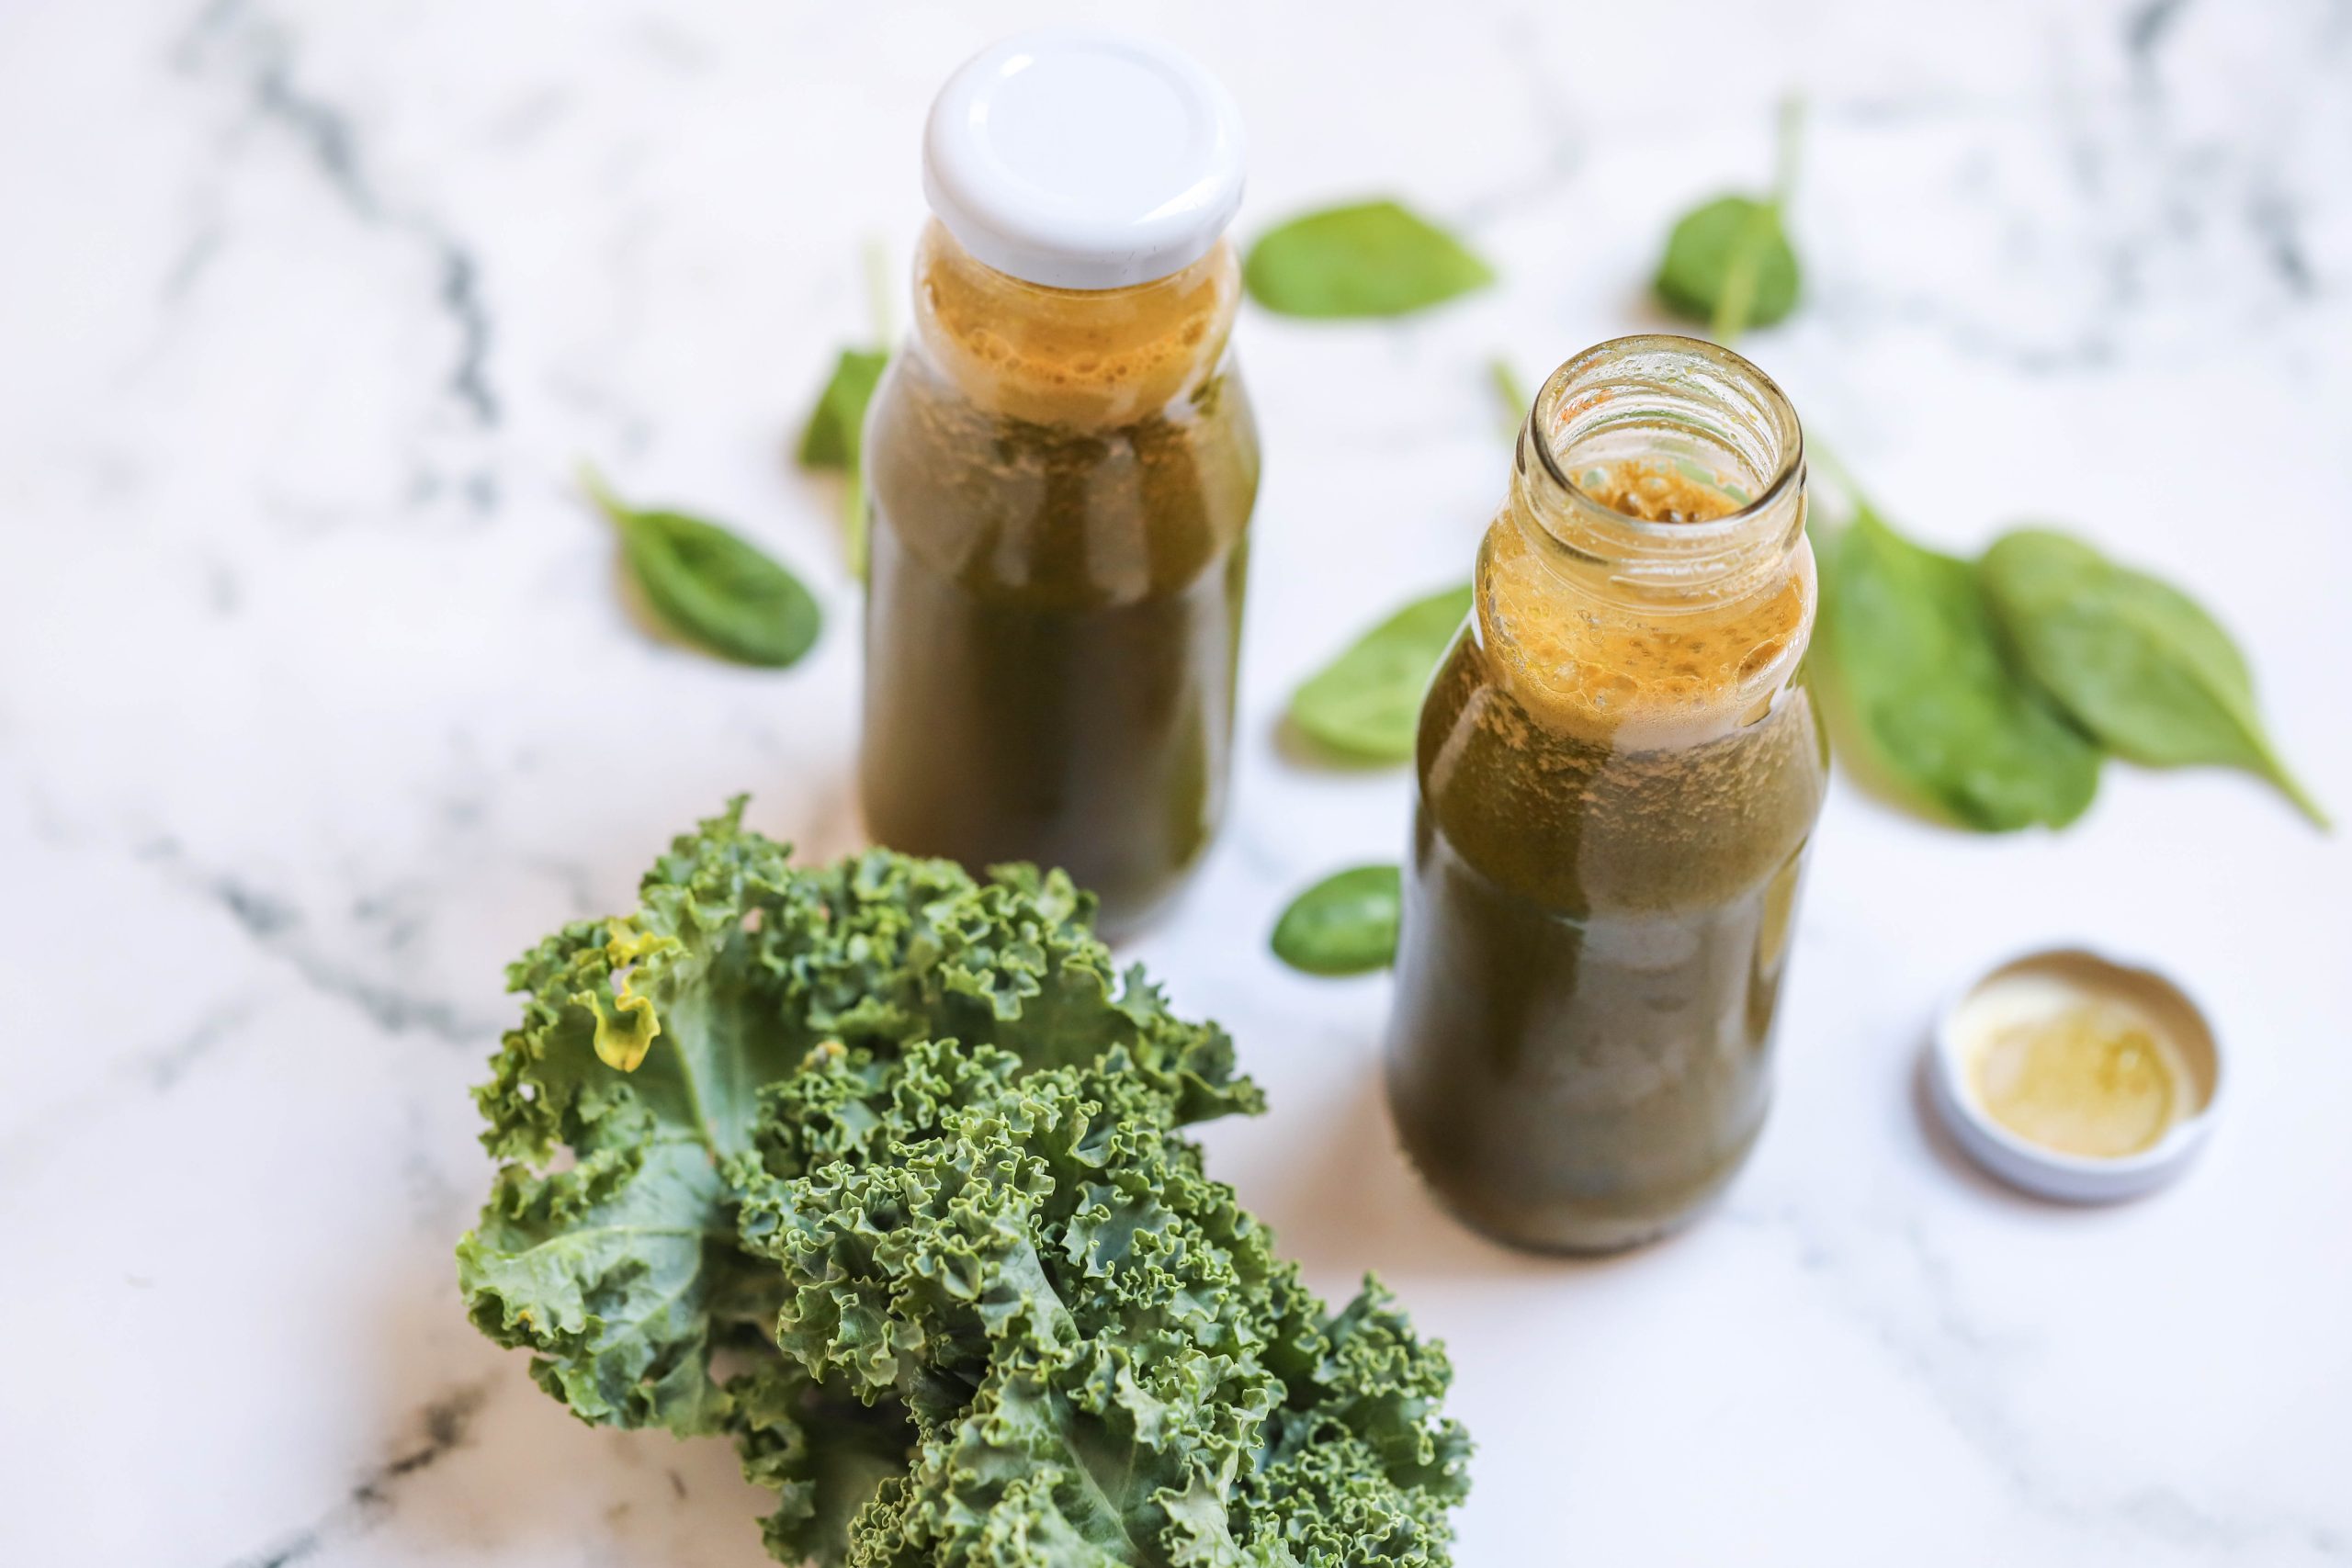
Super Green Juice

Super Green Juice: Energize your day with this nutrient-packed elixir that blends the goodness of green vegetables into a revitalizing and healthful drink.

Join us as we guide you through creating this invigorating juice that’s perfect for a morning boost, post-workout hydration, or simply embracing the revitalizing power of greens.

Let’s dive into the process of blending these super ingredients for a sip of pure vitality!

The Super Green Juice is Gluten Free, Dairy Free, Quick to make and Vegan

Nutrition per serving:
  • Kcal: 157
  • Carbs: 35 grams
  • Protein: 5 grams
  • Fat: 1 gram
  • Fibre: 9 grams

Prep time: 5 min

Cook time: 0 min

Ingredients – 2 servings:
  • 2 cucumbers 
  • 1 green apple 
  • 6 kale leaves 
  • 2 cups (60g) spinach 
  • 3 stalks celery 
  • 3 carrots
What you need to do:
  1. Cut the cucumbers and apple into pieces so they fit the tube of a juicer.  
  2. Place the cucumbers, apple, kale, spinach, celery and carrots into the feeder of a juice extractor and run the machine.  
  3. Divide between 2 glasses and serve immediately.

Simplify your path to fitness and health!

Get 15 High-Protein recipes every month, an entire week’s meal planner, and access to our Recipe Vault with 350+ recipes, including videos. Plus, enjoy 5-10 new video recipes added monthly!

All for just €9.90 per month.

Join our Recipe Vault Membership today!

Raspberry & Lemon Muffins

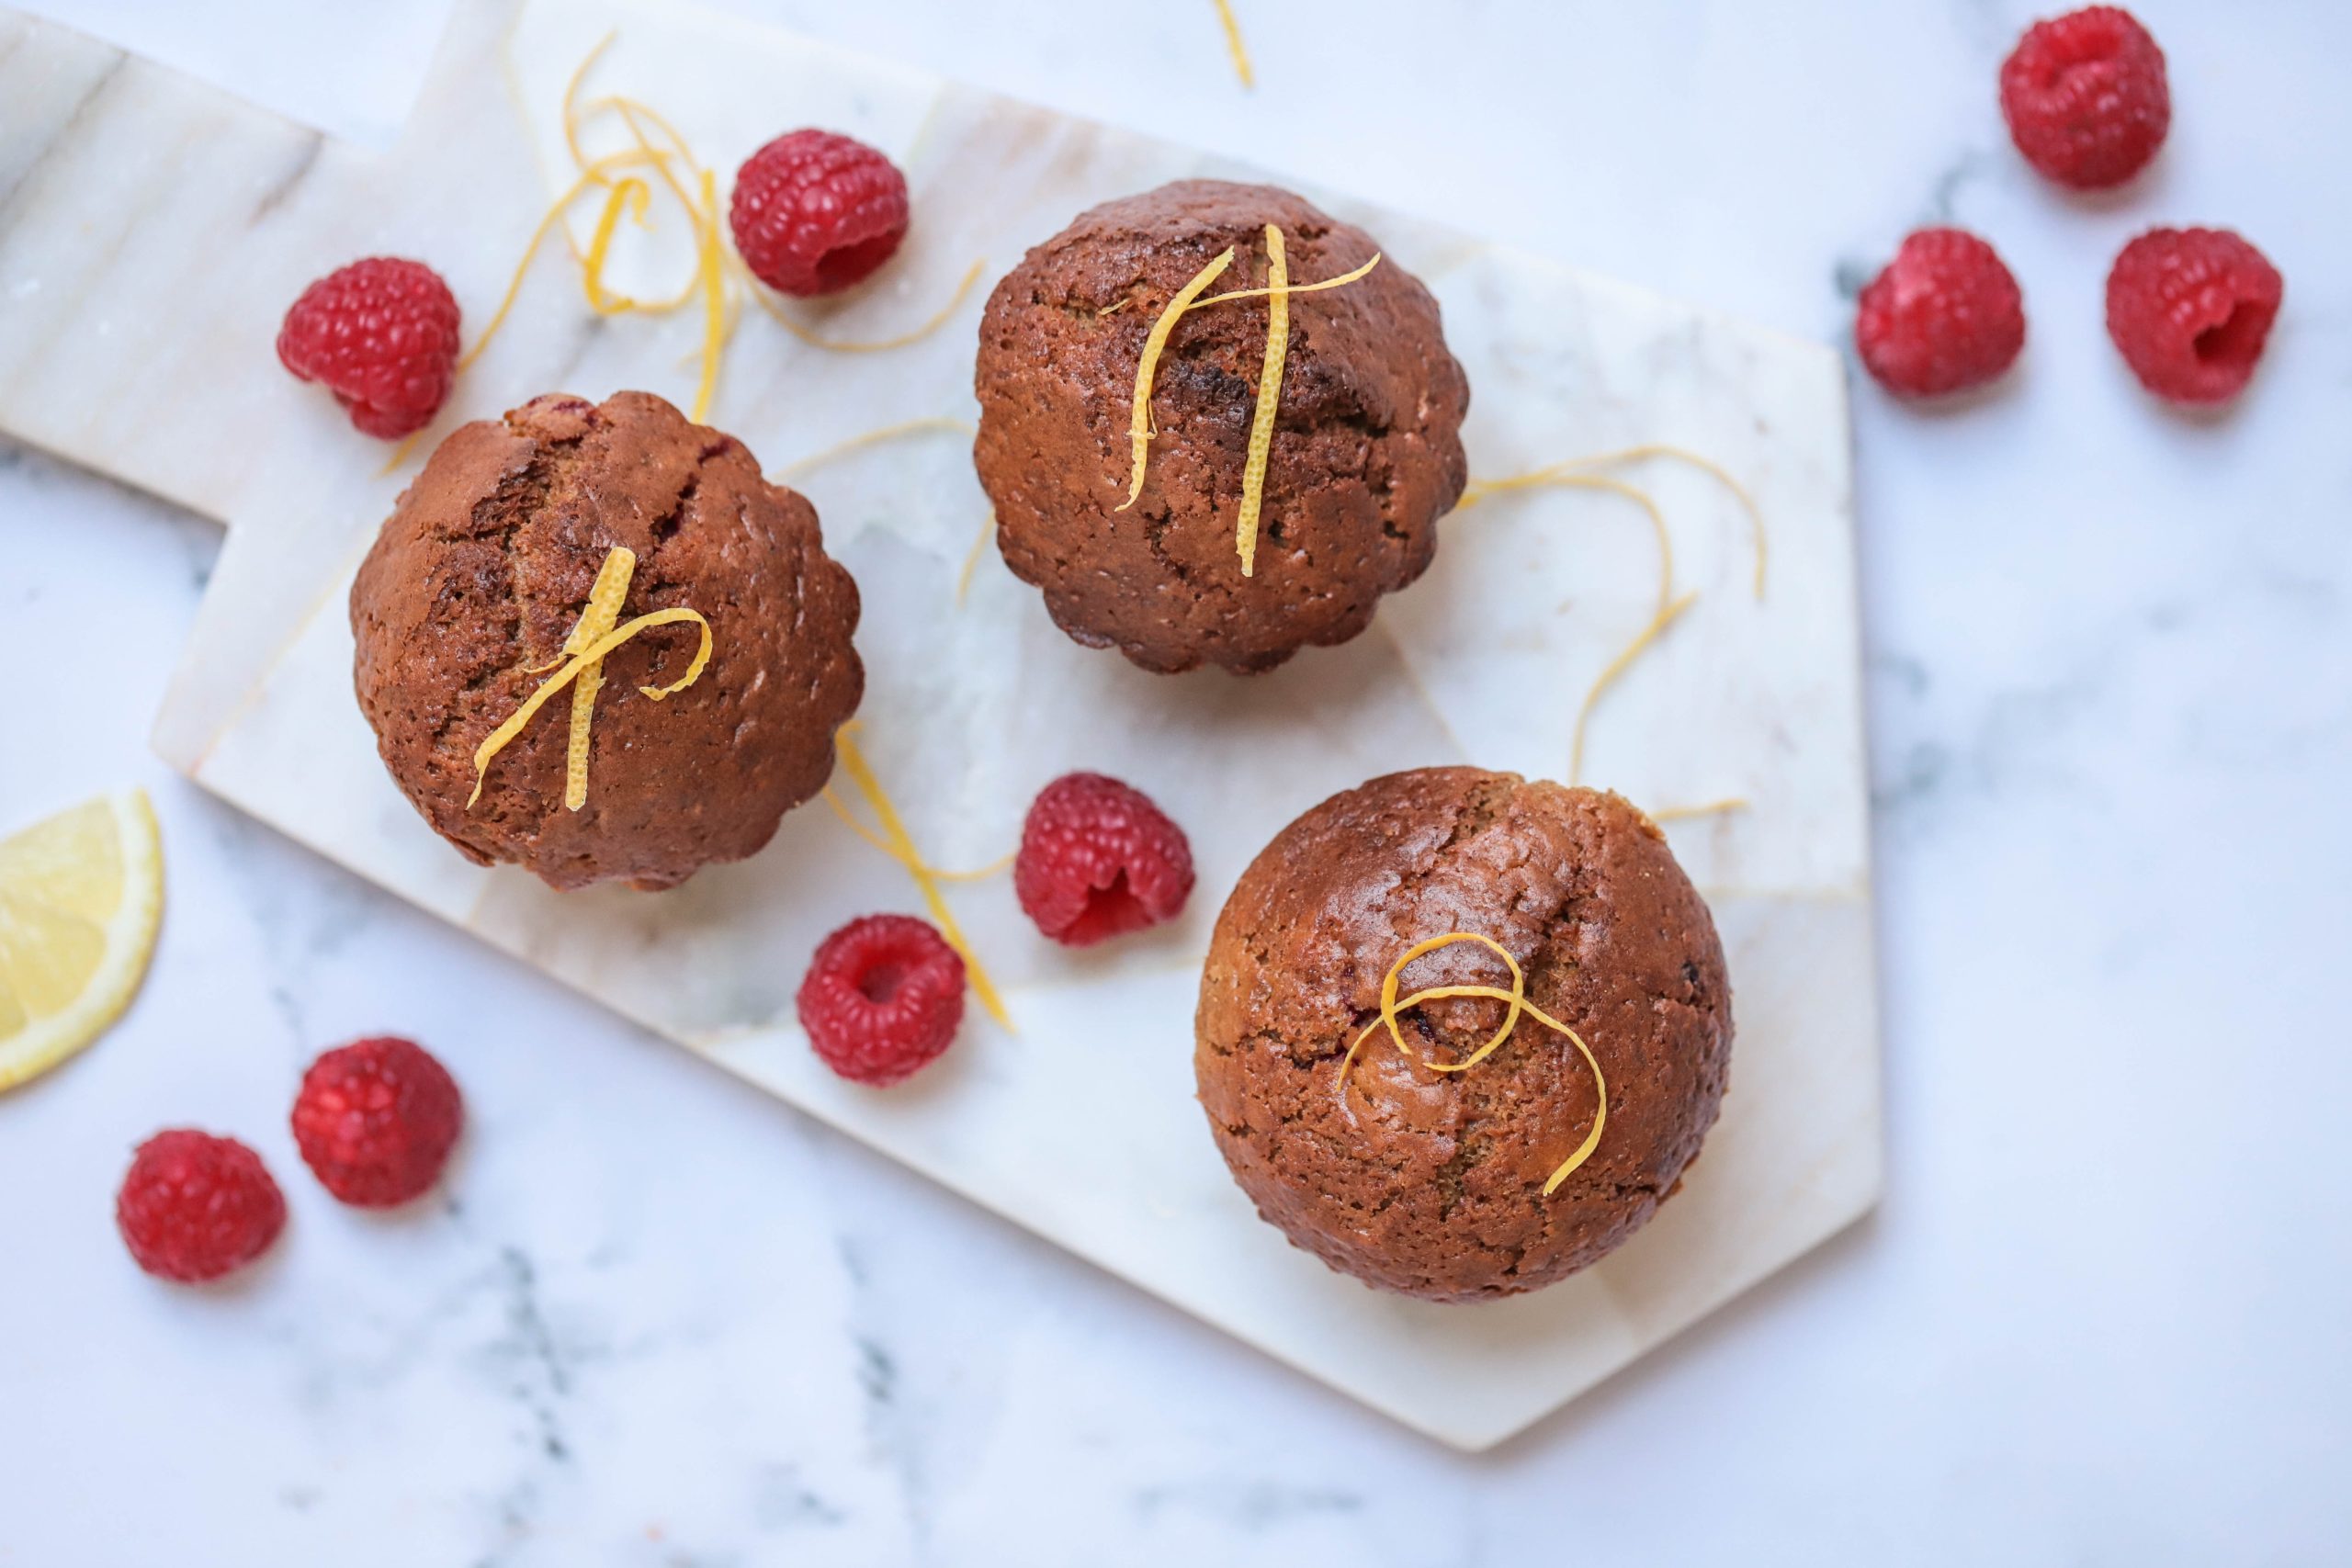
Raspberry & Lemon Muffins: Delight in the harmonious blend of tart and sweet with our Raspberry & Lemon Muffins.

These delightful treats burst with the vibrant flavors of juicy raspberries and zesty lemon, creating a refreshing and indulgent pairing. Join us as we reveal the steps to bake these tender, fruity muffins that are perfect for a leisurely breakfast, a delightful snack, or sharing with loved ones.

Let’s embark on the journey of baking these irresistible gems that will brighten your day!

Meal Prep Friendly, Freezer Friendly, Vegan muffins – but do contain Nuts.

Nutrition per serving:
  • Kcal: 186
  • Carbs: 32 grams
  • Protein: 3 grams
  • Fat: 6 grams
  • Fibre: 4 grams
Ingredients – 12 servings:
  • 2 cups (250g) all-purpose flour
  • ⅔ cup (155g) coconut sugar
  • ½ tsp. baking powder
  • ½ tsp. baking soda
  • ½ tsp. ground cinnamon
  • ¼ tsp. salt
  • 1 cup (240ml) milk
  • 1 tbsp. lemon juice
  • 2 eggs
  • 5 tbsp. butter, unsalted, melted, and cooled
  • 2 tsp. lemon zest
  • ½ tsp. vanilla extract
  • 1 cup (125g) raspberries
  • 1 tbsp. coconut sugar
What you need to do:
  1. Preheat the oven to 400°F (200°C). Line a 12 hole muffin tray with paper liners or silicone muffin cups.
  2. In a large bowl, mix the flour, sugar, baking powder, baking soda, cinnamon and salt.
  3. In a medium bowl, whisk together milk, lemon juice, eggs and melted butter. Add the lemon zest and vanilla and whisk just until blended.
  4. Fold the wet mixture into the dry flour mixture and stir until just combined. Do not beat the mixture. Now gently fold in the raspberries.
  5. Divide the batter equally between each of the 12 muffin cups. Sprinkle 1 tablespoon of coconut sugar evenly over each of the muffins.
  6. Place the tray into the oven and bake the muffins until golden brown, approximately 20 minutes, or until a toothpick inserted into the center of a muffin comes out clean.
  7. Remove the tray from the oven and set aside on a wire rack for 15 minutes, then remove from the tray/silicone molds and allow to cool completely before serving.
  8. Store the muffins in an airtight container on the counter top for 2-3 days.

Simplify your path to fitness and health!

Get 15 High-Protein recipes every month, an entire week’s meal planner, and access to our Recipe Vault with 350+ recipes, including videos. Plus, enjoy 5-10 new video recipes added monthly!

All for just €9.90 per month.

Join our Recipe Vault Membership today!

Baked Chicken Parmesan

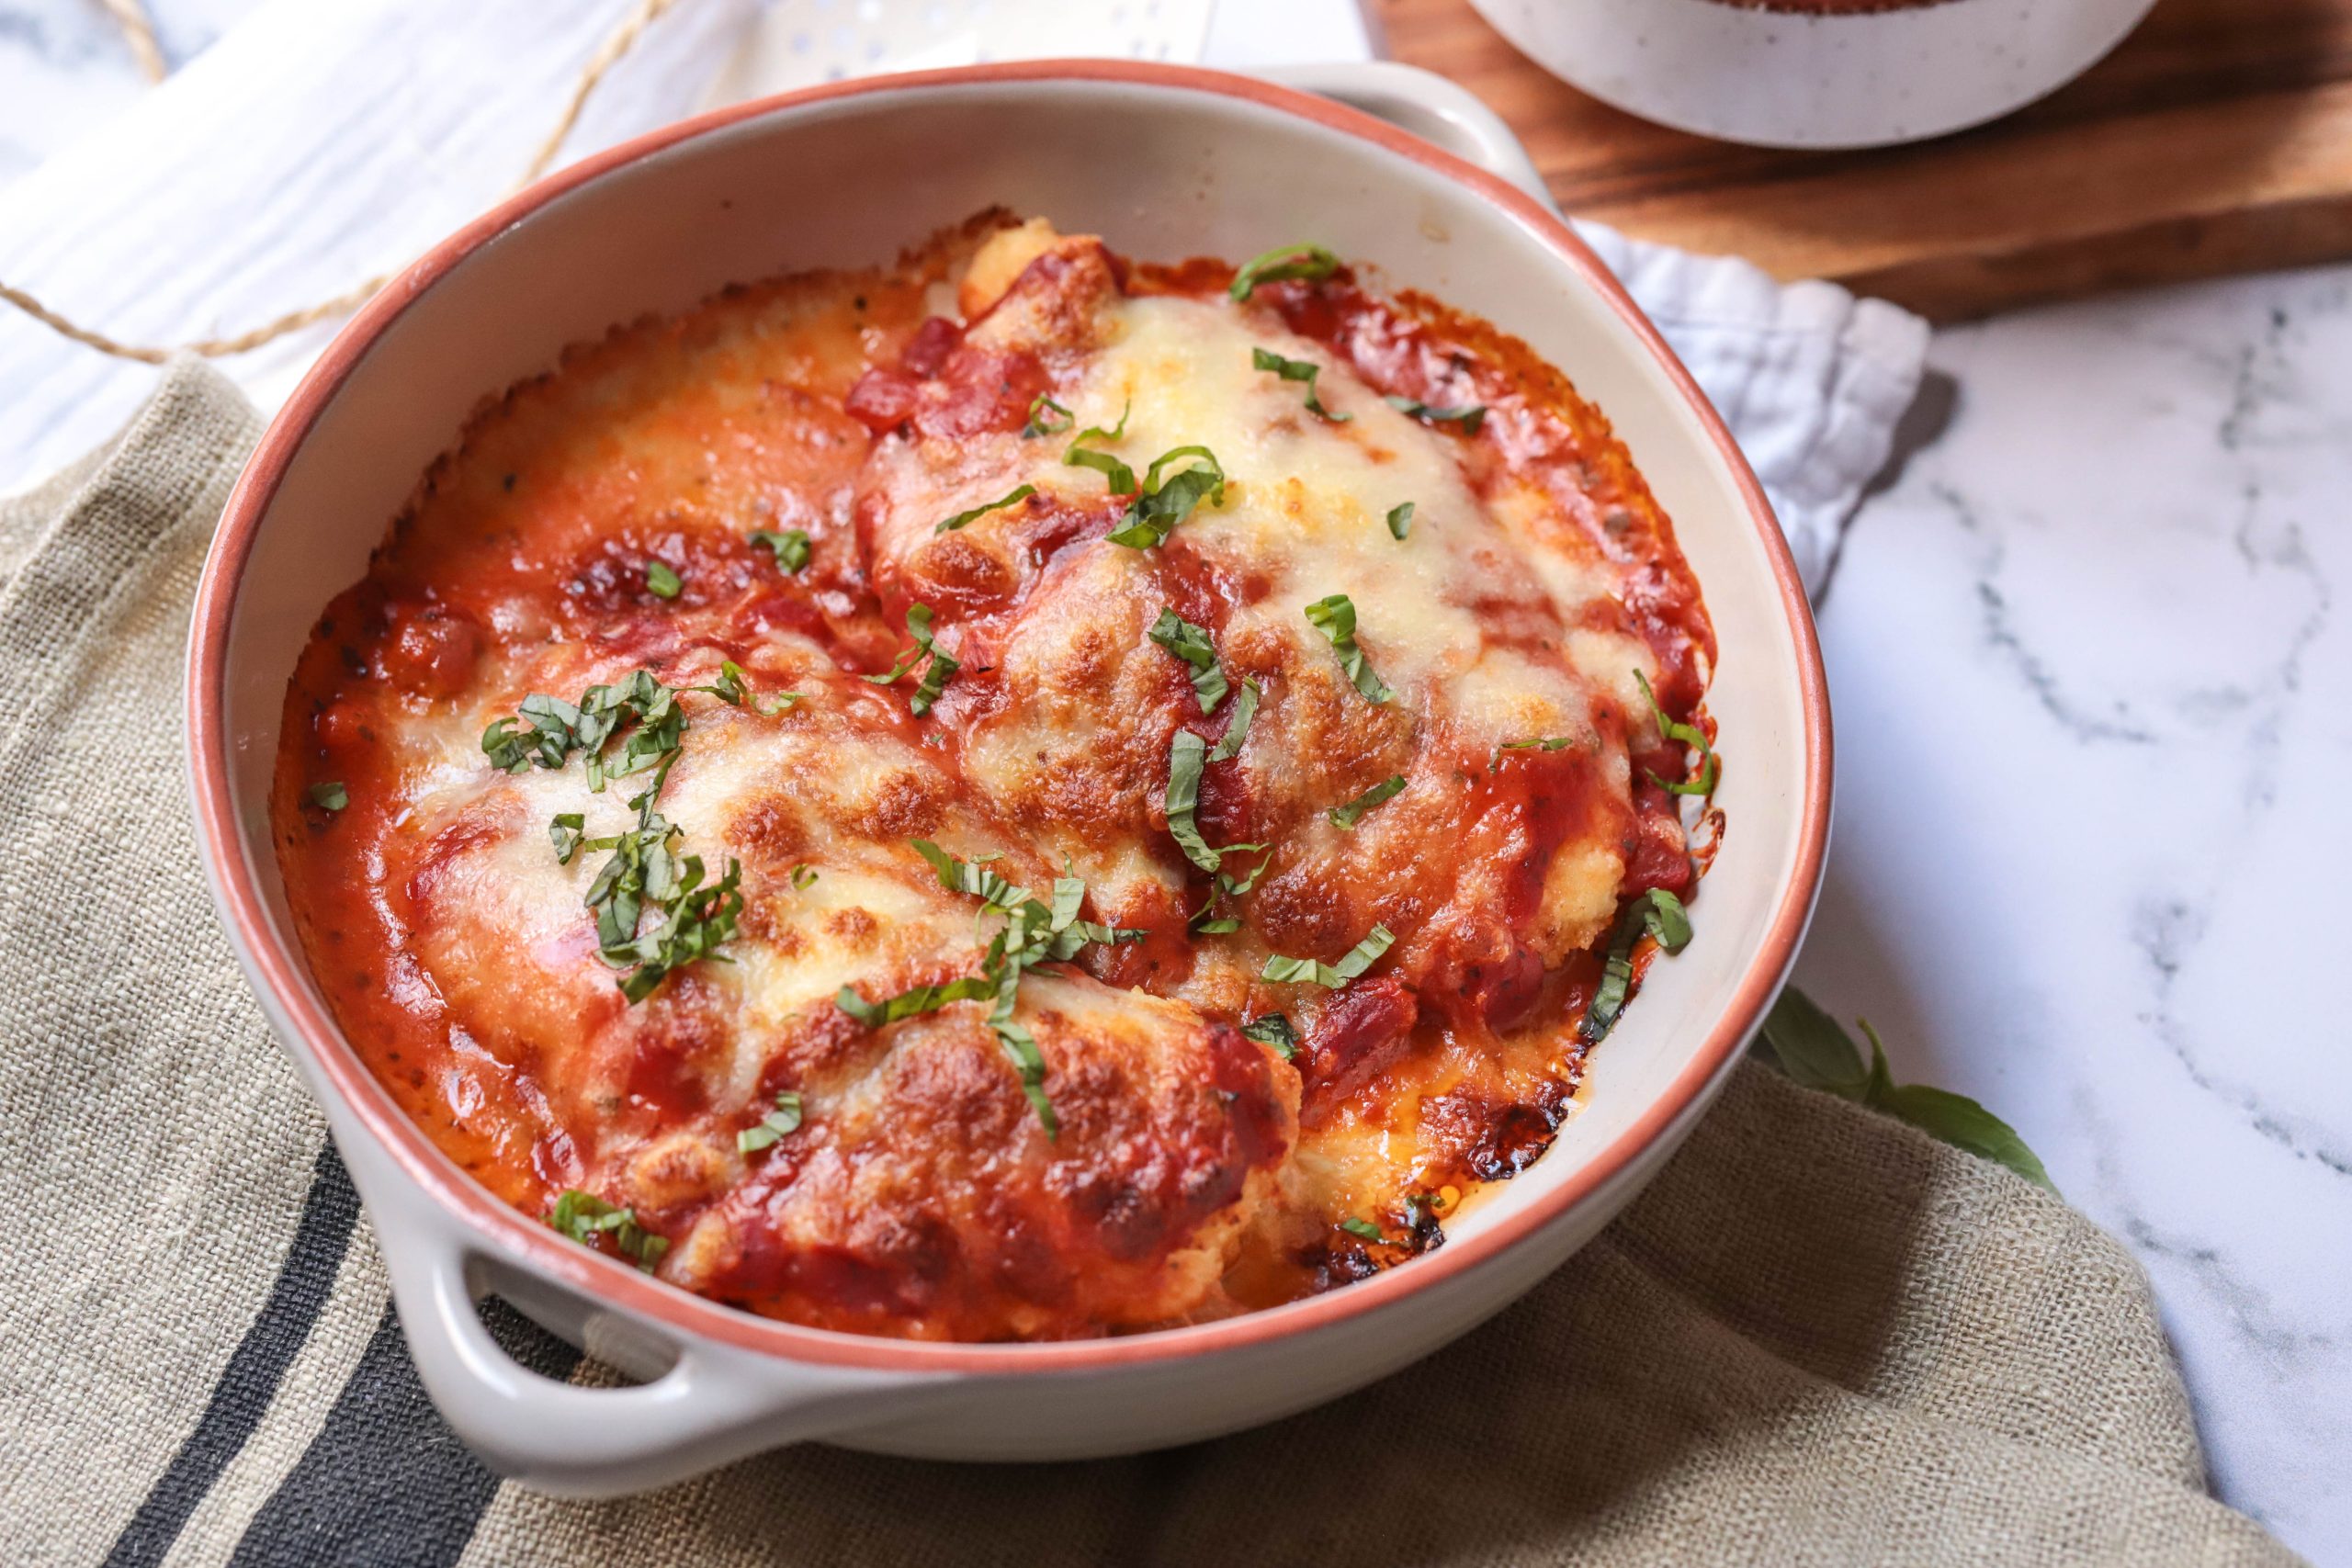
Baked Chicken Parmesan – an Italian classic reimagined for a healthier twist.

Savory chicken breasts, coated in breadcrumbs and smothered in marinara sauce and melted cheese, create a delightful medley of flavors. Join us as we walk you through the steps to prepare this wholesome and satisfying dish that’s perfect for a family dinner or a cozy night in.

Let’s embark on the journey of baking up this mouthwatering Italian favorite!

Our Baked Chicken Parmesan is Low Carb, Meal Prep Friendly, Freezer Friendly, and super High Protein!

Nutrition per serving:
  • Kcal: 365
  • Carbs: 10 grams
  • Protien: 46 grams
  • Fat: 14 grams
  • Fibre: 1 gram
Ingredients – 6 servings:
  • 2 lbs. (900g) chicken breast, boneless, skinless
  • ½ cup (65g) panko breadcrumbs
  • 1 cup (100g) parmesan cheese, grated
  • 1 tbsp. garlic powder
  • ½ tsp. salt
  • 1 egg
  • 3 tbsp. olive oil + 1 tsp. to grease dish
  • 1 cup (260g) marinara sauce
  • 1 cup (115g) mozzarella cheese, shredded
  • fresh basil, for garnish
What you need to do:
  1. Preheat the oven to 450°F (230°C) and grease an oven-proof dish with 1 teaspoon of olive oil.
  2. Slice each chicken breast in half, lengthways, then place the chicken on a cutting board and cover with plastic wrap. Using a meat tenderizer, pound the chicken to a ½-inch thickness. Set aside.
  3. In a large bowl, combine the breadcrumbs, parmesan cheese, garlic powder and salt. Whisk the egg into a medium bowl.
  4. Dip each chicken breast first into the beaten egg, shaking off any excess, then into the breadcrumb mixture.
  5. Heat ½ tablespoon of olive oil in a large skillet over a medium-low heat. Add the chicken to the skillet and cook for 3-4 minutes on each side, until golden brown. Wipe the skillet between each chicken breast to remove any brown bits and continue to saute the remaining pieces of chicken.
  6. Transfer the chicken to an oven-proof dish and top the chicken breasts with the marinara sauce and sprinkle over the shredded mozzarella.
  7. Bake the chicken in the oven for approximately 7 minutes or until the mozzarella has melted and the chicken is cooked through.
  8. Sprinkle over freshly chopped basil and serve immediately.

Simplify your path to fitness and health!

Get 15 High-Protein recipes every month, an entire week’s meal planner, and access to our Recipe Vault with 350+ recipes, including videos. Plus, enjoy 5-10 new video recipes added monthly!

All for just €9.90 per month.

Join our Recipe Vault Membership today!

Yoga for Weight Control

Yoga for weight control is a safe solution, according to a study by the Fred Hutchinson Cancer Research Center in Seattle, Washington.

The research involved a group of 15,500 healthy individuals, both men and women in middle age. This demographic often faces challenges in weight management due to a decrease in calorie needs and a shift in energy levels as they age.

Regrettably, this is a reality that I’ve personally come to understand over recent years, where reducing food intake became an unwanted last resort. Despite engaging in daily cross-training, it took a full year to shed 16 pounds of excess weight.

Now, returning to the study: Yoga practice, in this context, meant dedicating a minimum of 30 minutes per week for at least four years. Comparatively, this may seem like a modest commitment, and some Yoga instructors used to claim that such minimal Yoga sessions would yield no significant results.

How times have changed; Yoga has been contributing to people’s fitness for approximately 5,000 years, and its myriad health benefits remain a subject of fascination, warranting further research.

Yoga Emerges as a Safe Approach to Weight Management

Alan R. Kristal, Dr.P.H., the principal author of the study from the Hutchinson Center’s Public Health Sciences Division, stated, “Individuals who maintained a healthy weight at age 45 and regularly practiced Yoga gained approximately three pounds less over that ten-year period compared to those who did not practice Yoga.”

Until we have comprehensive research findings, it’s reasonable to conclude that incorporating Yoga into your weekly routine, along with mindful eating, can contribute to weight management and potentially weight loss.

When seeking a Yoga instructor, look for someone who combines compassion with encouragement for more frequent practice. The benefits of regular practice, attending three to four Yoga sessions per week, can be remarkable, especially when sustained over many years.

Yoga for weight control is safe

Yoga offers a gentle approach, especially when compared to many high-impact aerobic exercises, making it an ideal practice for promoting long-term wellness. Your knees, spine, hips, and shoulders will benefit from the nurturing care that Yoga provides, granting them enduring health. In contrast, many contemporary exercise regimens may not boast the same protective advantages as Yoga.

In terms of nutrition, it’s crucial to distinguish between genuine hunger and cravings. Often, they are not interchangeable. As a devoted chocolate enthusiast, I’ve learned that indulging in an occasional piece of chocolate is a far wiser choice than succumbing to a dozen chocolate donuts. This isn’t an endorsement of excessive chocolate consumption but an invitation to savor it in moderation, avoiding daily indulgence.

In essence, what I’ve discussed revolves around awareness, self-control, and moderation. It’s imperative that we break free from mindless eating habits.

Recent studies revealed that women who incorporated a daily 1200 mg calcium supplement into their routine experienced a 54% reduction in premenstrual food cravings.

On a different note: Anxiety triggers the release of cortisol, a hormone that can amplify carbohydrate intake. Carbohydrates offer a temporary boost in serotonin levels, momentarily inducing relaxation.

Achieving your best physical condition is intricately linked with a positive mindset. Therefore, tap into self-improvement resources to maintain your journey toward optimal health on the right track.


Dive into our Yoga Journey Course

Meticulously crafted to cater to both newcomers and seasoned yogis.

Experience 13 video guided Yoga sessions, from foundational poses to advanced sequences.

Our course ensures not only physical revitalization, but also mental clarity and holistic well-being.

Yoga is a Safe Solution to Weight Control

Mexican Chicken Bowl

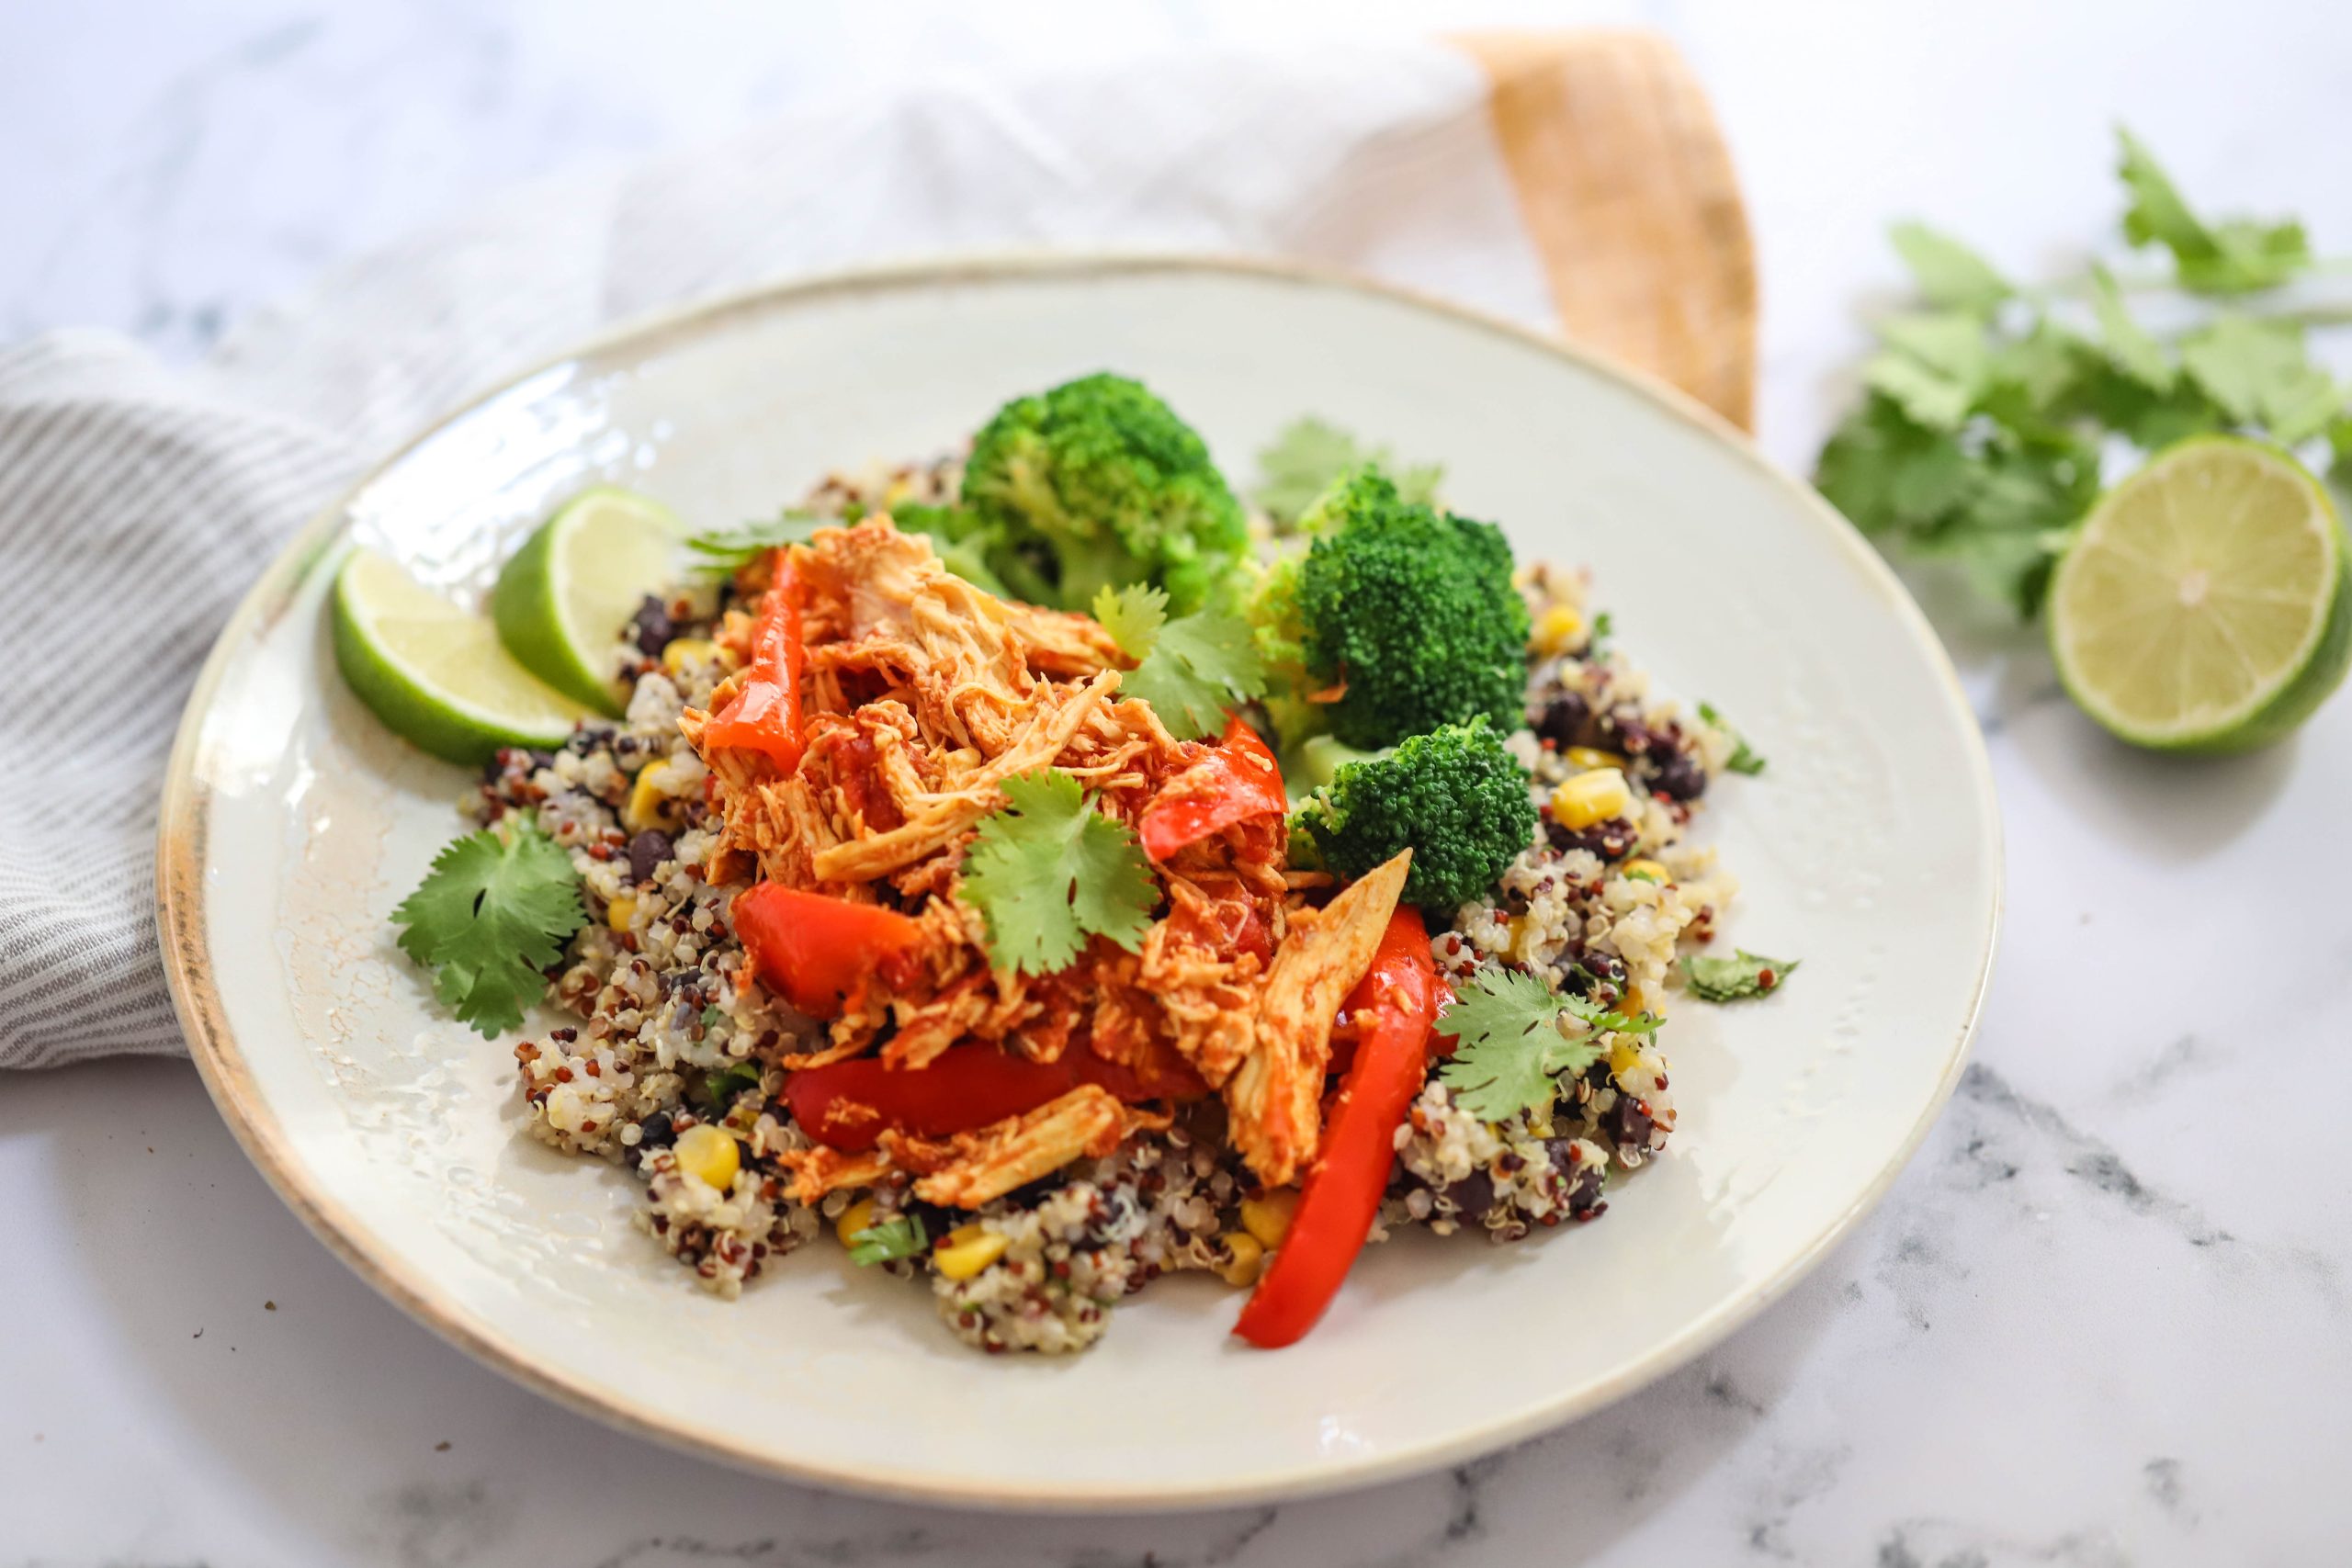
Mexican Chicken Bowl recipe will take your taste buds on a flavorful journey south of the border.

This dish combines tender, seasoned chicken with a vibrant medley of fresh ingredients, offering a burst of Mexican-inspired goodness in every bite. Join us as we guide you through creating this mouthwatering bowl that’s perfect for those seeking a quick and delicious meal with a dash of spice.

Let’s dive into crafting this culinary fiesta!

This Mexican Chicken Bowl is Gluten Free, Dairy Free, Meal Prep Friendly, Freezer Friendly, and VERY High Protein!

Nutriton per serving:
  • Kcal: 530
  • Carbs: 69 grams
  • Protein: 39 grams
  • Fat: 13 grams
  • Fibre: 15 grams

Prep time: 10 min

Cook time: 27 min

Ingredients – 4 servings:

For the quinoa: 

  • 1 tbsp olive oil 
  • 2 cloves garlic, minced 
  • 1 cup (170g) dried quinoa
  • 1 cup (240ml) vegetable broth 
  • 1x 14 oz. (400g) can black beans, drained 
  • 1 cup (180g) frozen corn kernels, defrosted 
  • 1 tsp chili powder 
  • ½ tsp. ground cumin
  • ½ tsp. salt 
  • 1 lime, juiced 

For the chicken: 

  • 1 tbsp. olive oil 
  • 1 onion, sliced 
  • 1 red bell pepper, sliced 
  • 2 cups (270g) shredded chicken 
  • 1x 14 oz. (400g) can chopped tomatoes 
  • 1 tsp. chili powder 
  • ½ tsp. garlic powder 
  • ½ tsp. onion powder 
  • 1 tsp. chipotle paste 
  • salt & pepper
  • 1 broccoli head, cut to florets 
  • 1 lime, wedges, to serve 
  • 2 tbsp. cilantro, chopped, to serve 
What you need to do:

For the quinoa: 

  1. Heat the olive oil in a large skillet over medium heat. Add the garlic and cook for 1 minute, stirring frequently, until fragrant.  
  2. Stir in the quinoa, vegetable broth, beans and corn and season with the spices, salt and pepper. Bring to a boil, then reduce the heat, cover and simmer until the quinoa is cooked through, approximately 20 minutes. At the end add the lime juice and mix well. Set aside until ready to plate. 

For the chicken: 

  1. Heat the olive oil in a large skillet over a medium heat. Add the onion and red bell pepper and cook until tender, around 3-4 minutes. Add in the shredded chicken, chopped tomatoes, spices and chipotle paste. Season with salt and pepper and mix well. Continue cooking until heated through. 
  2. Meanwhile, place the broccoli in a pot of salted water. Bring to a boil, then turn to low and simmer for 5-6 minutes, until tender. 
  3. To serve, divide the quinoa and chicken equally between 4 bowls. Serve with the cooked broccoli and lime wedges and garnish with freshly chopped cilantro.  

Simplify your path to fitness and health!

Get 15 High-Protein recipes every month, an entire week’s meal planner, and access to our Recipe Vault with 350+ recipes, including videos. Plus, enjoy 5-10 new video recipes added monthly!

All for just €9.90 per month.

Join our Recipe Vault Membership today!